This repository is for the Python Lab for Layer 8 Cyber Security Club at California State University, Northridge. It will cover the items given in the Context below.
Please make sure you have downloaded python3 and pip before the lab begins. But the installation under Unix systems are straight forward. Windows installations might require some tinkering with the PATH to get your python to work globally. Otherwise, use the current working directory to run the executable.
This lab's goal is creating a functional Discord bot that utilizes an API and a database. The API this lab will utilize is the Shodan API and the database will be SQLite3.
pip3 install -r ./requirements.txtNote, use pip3 because we need to be in python3. Use pip if your default python is version 3.
Also, use sudo... Run as root if you are under linux.
In addition, note that you can put this whole thing in a different env if you have another version of discord.py, since discord.py rewrite is WAY different than discord.py because rewrite is version 1.0.0a (a as in alpha, not released) and the current version of discord.py is v0.16.6. We will use rewrite here. The documentations are available here
Please download this to visualize and make databases easily, please download SQLiteStudio from here
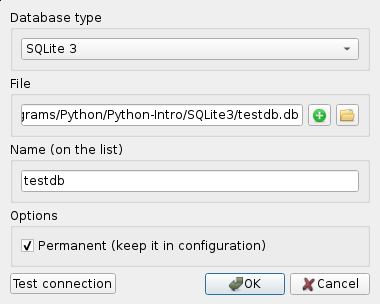
Install and run SQLiteStudeio and create a new database.
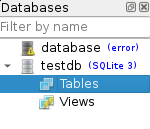
Observe the information we can see for the database we have on the left.
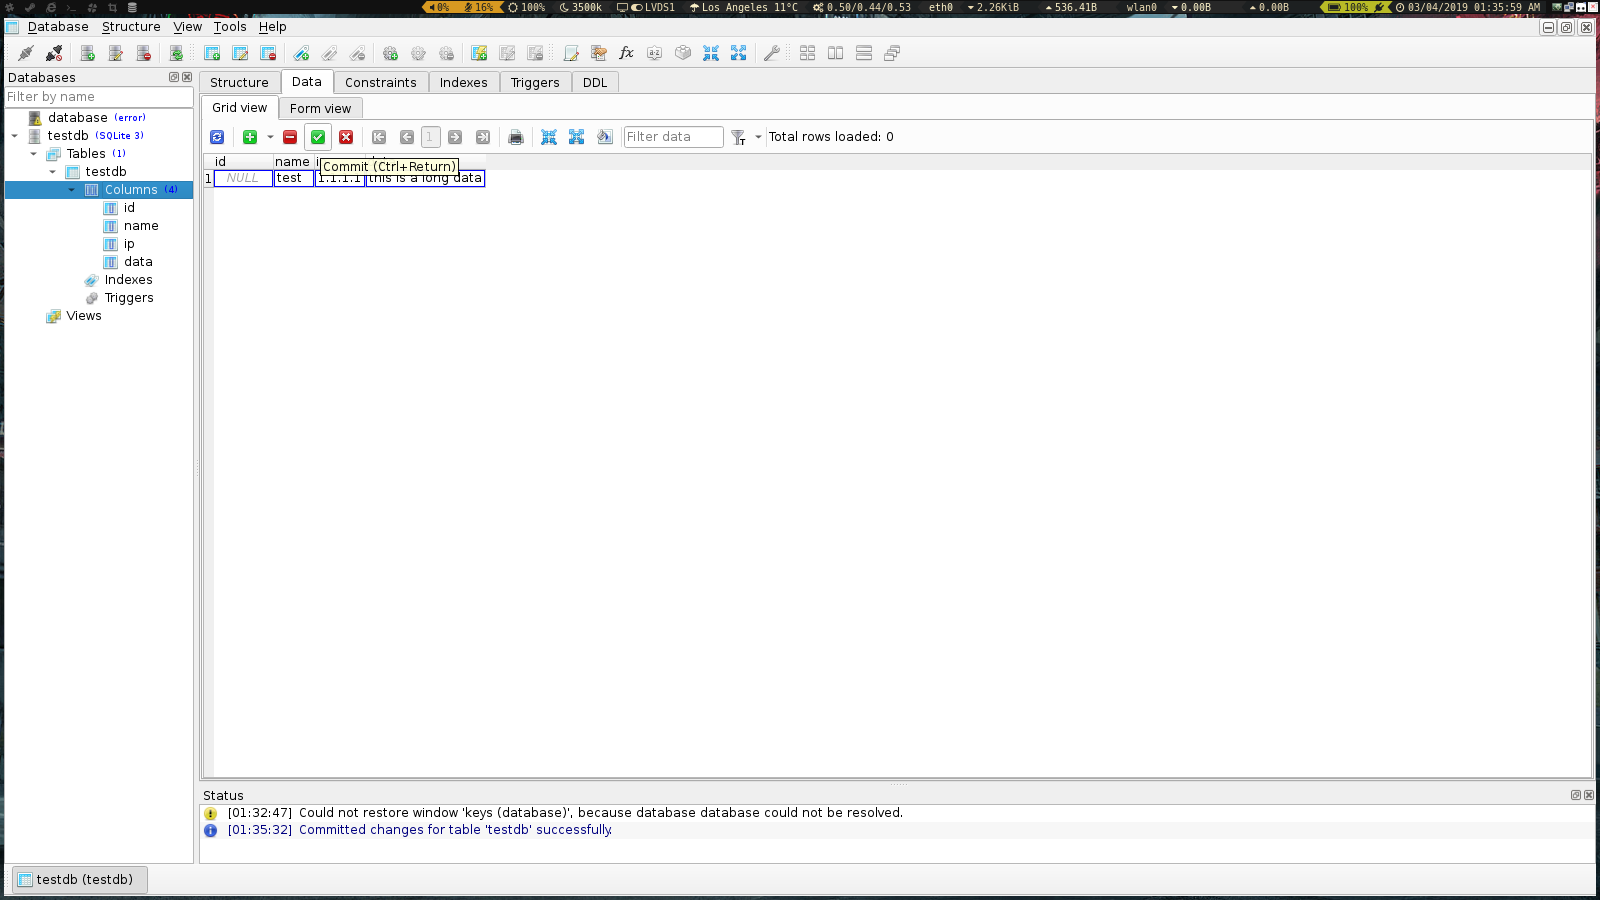
Now, we create a new table by clicking the new table icon:
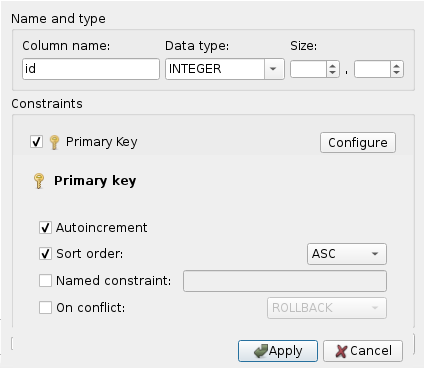
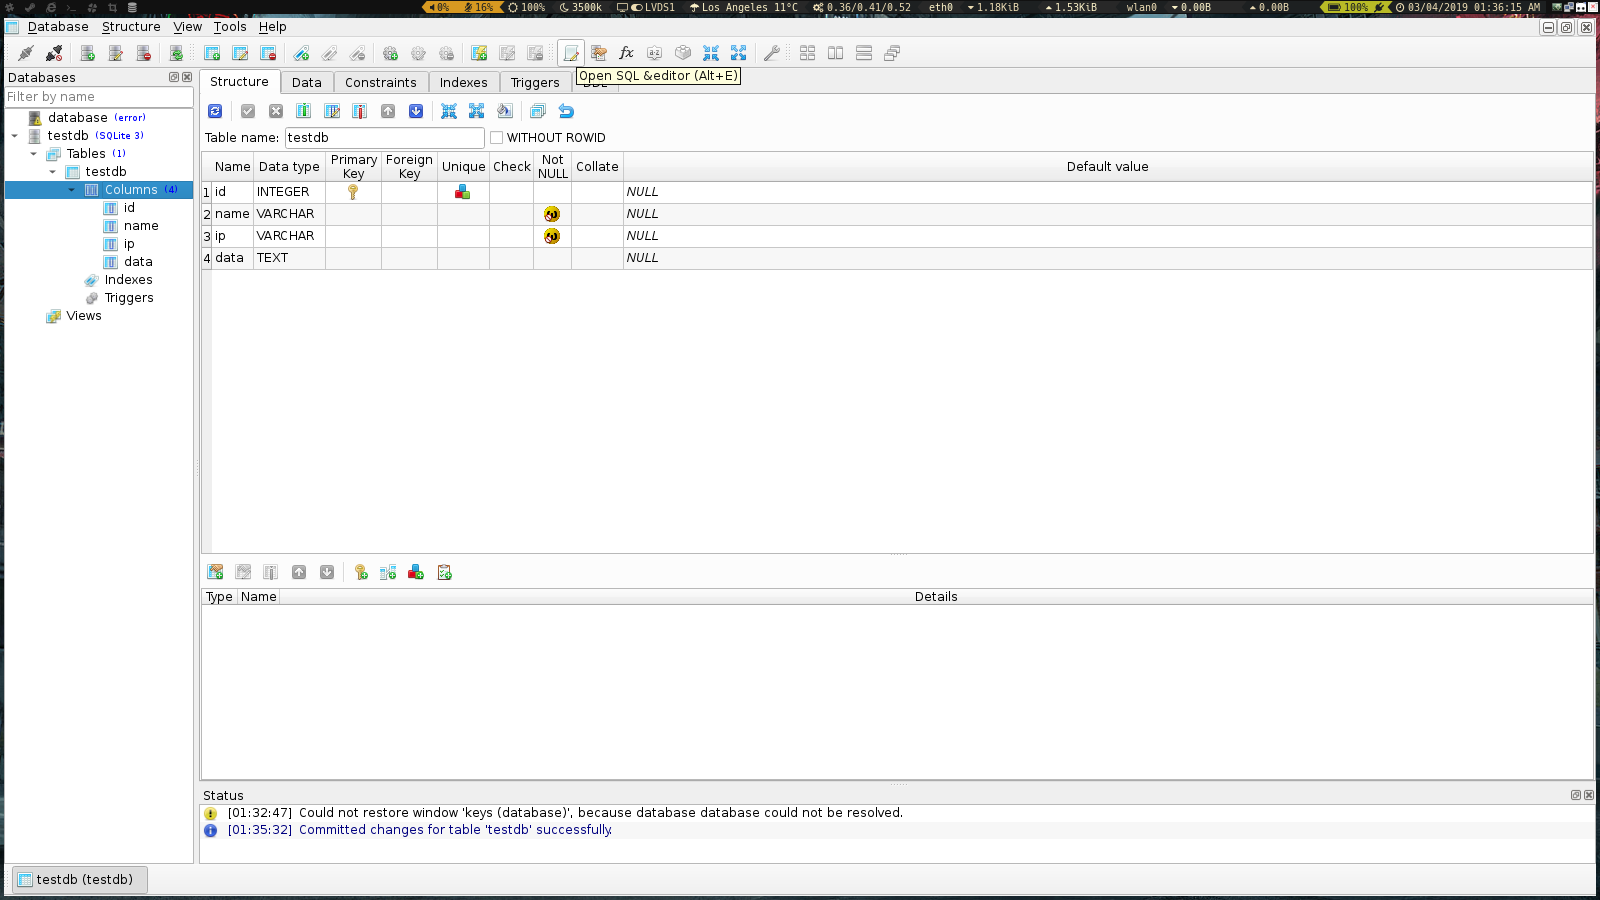
After this, we can give our data some specifications:
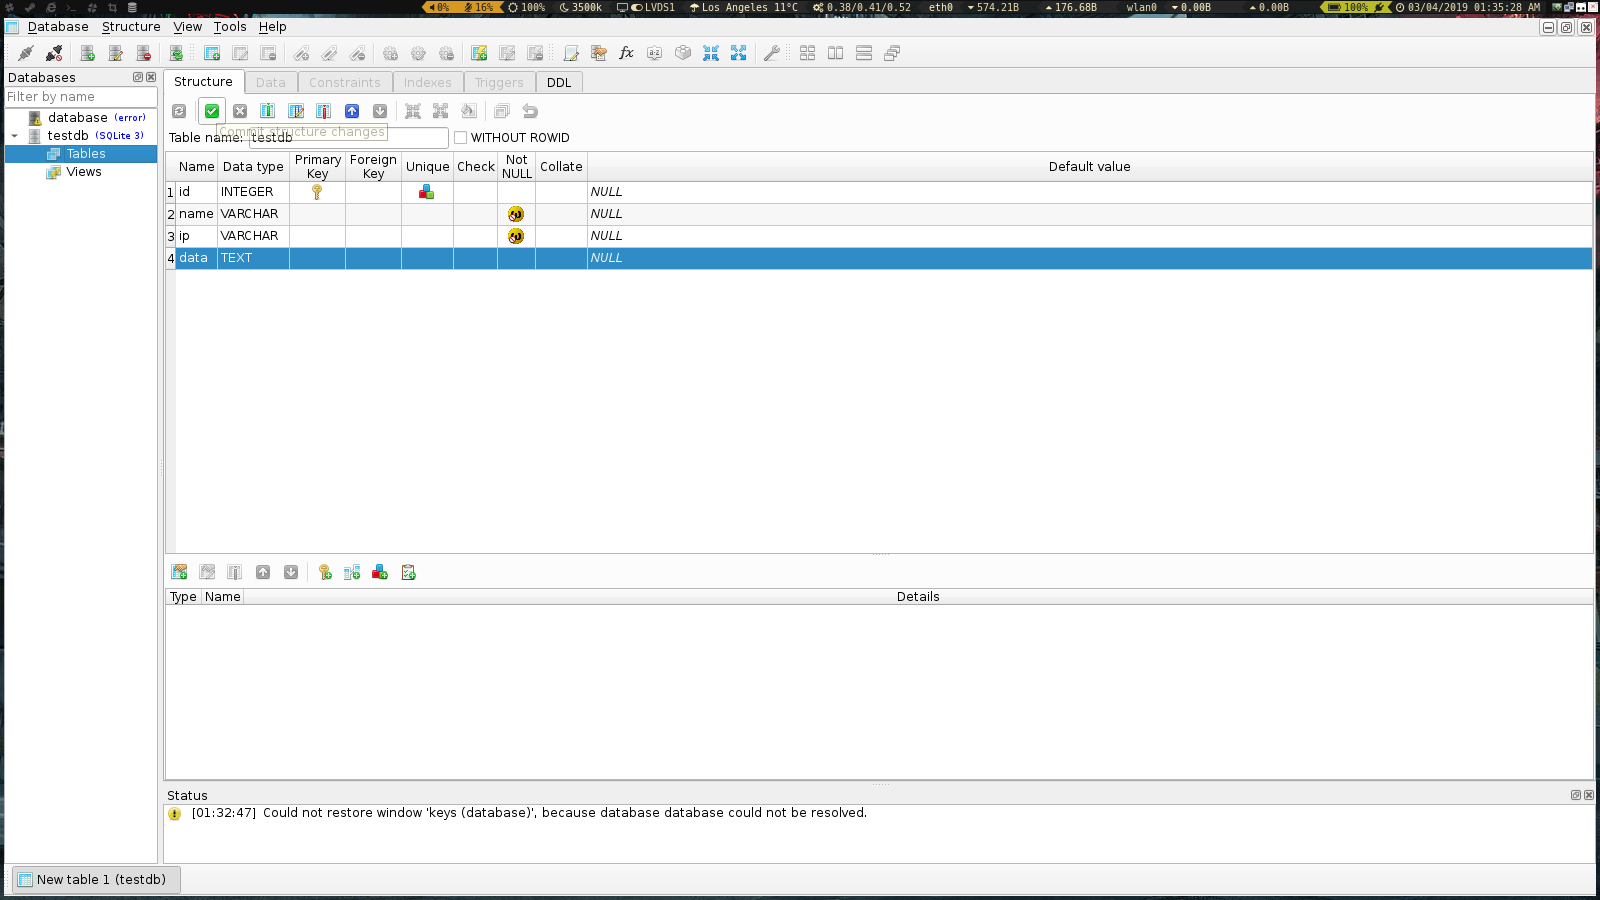
Observe more and make the database fully.
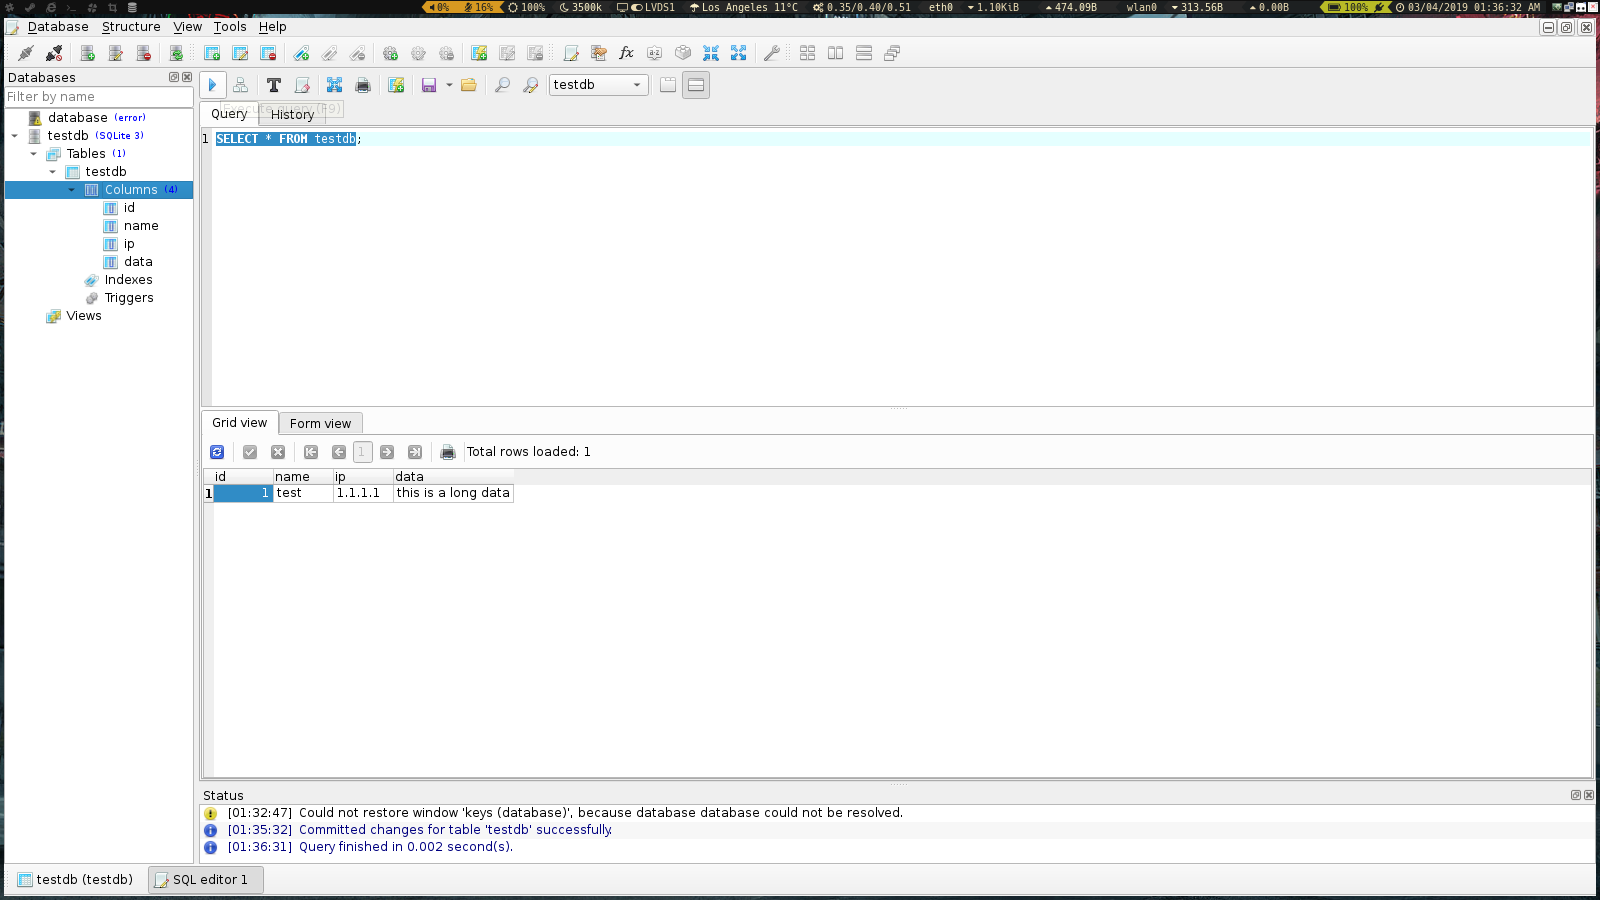
If you want to give it commands, you can do so from the editor!
Oh, and here are the sqlite3 documentations!
For this, please register a free account with your student email or whatever. If you have problems registering, just login via google. That works just fine. Then go to your profile and you will see the API area
Either press the show API or go to your account and copy it from there.
[shodan_docs]: Now, to view the basic usage of this API, follow this link
Here are two snippets directly from here
We begin by importing shodan and using our API key
import shodan

SHODAN_API_KEY = "insert your API key here"

api = shodan.Shodan(SHODAN_API_KEY)
# Wrap the request in a try/ except block to catch errors
try:
# Search Shodan
results = api.search('apache')
# Show the results
print('Results found: {}'.format(results['total']))
for result in results['matches']:
print('IP: {}'.format(result['ip_str']))
print(result['data'])
print('')
except shodan.APIError as e:
print('Error: {}'.format(e))Also, this snippet:
# Lookup the host
host = api.host('217.140.75.46')

# Print general info
print("""
        IP: {}
        Organization: {}
        Operating System: {}
""".format(host['ip_str'], host.get('org', 'n/a'), host.get('os', 'n/a')))

# Print all banners
for item in host['data']:
        print("""
                Port: {}
                Banner: {}

        """.format(item['port'], item['data']))
Note, for this lab, we only need the basics. We don't need to output a lot of detail. We just need a showcase. You can later on go ahead and look around the rest of the Shodan documentation to utilize and expand your bot.
We will need to enable the developer mode in Discord because we need this to see channel IDs and user IDs to test our bots further.
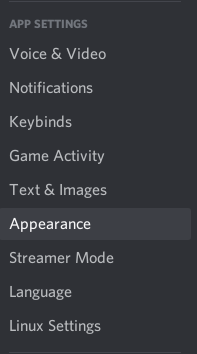
Go to your user settings and on the left aside, you will see the App settings. Click on "Appearance".
Now, scroll down to find the Advanced section, only to toggle the developer mode on.
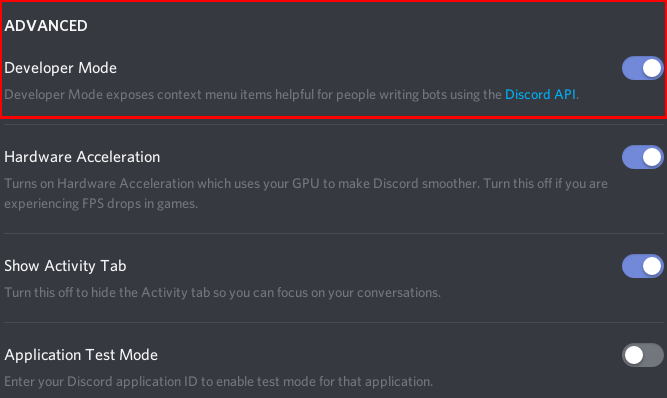
After setting your account to see IDs, go to the application developer page on discord.
Click on New Application and you will be greeted witha a name input for your bot. Give it a name and move on. Now, you will see the main page. Go to the Bot page and click "Add Bot"

Now, there are two things to notice when doing something like this. The bot needs permissions. This can be achieved as seen below:
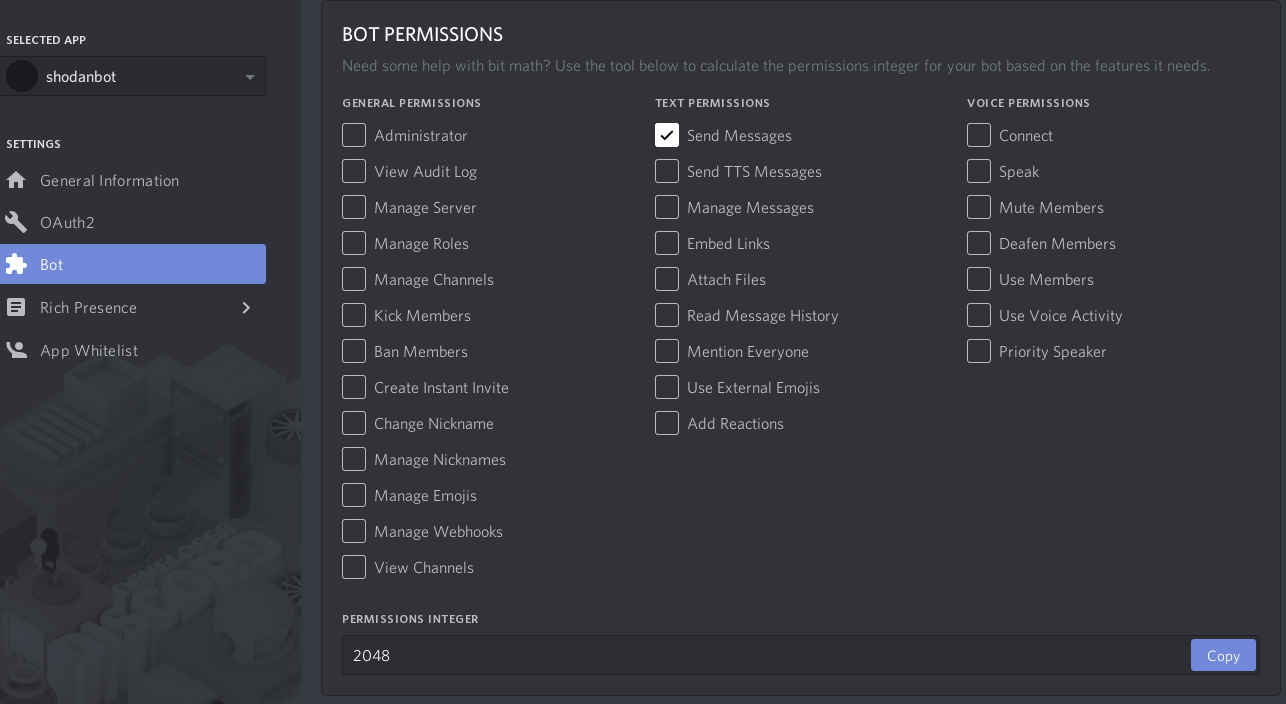
Note that this number is only used to give the bot permissions upon joining and only will be used in the URL later on.
This part will show the URL that the above image requires, but cannot be seen. The correct URL will be shown below the image.
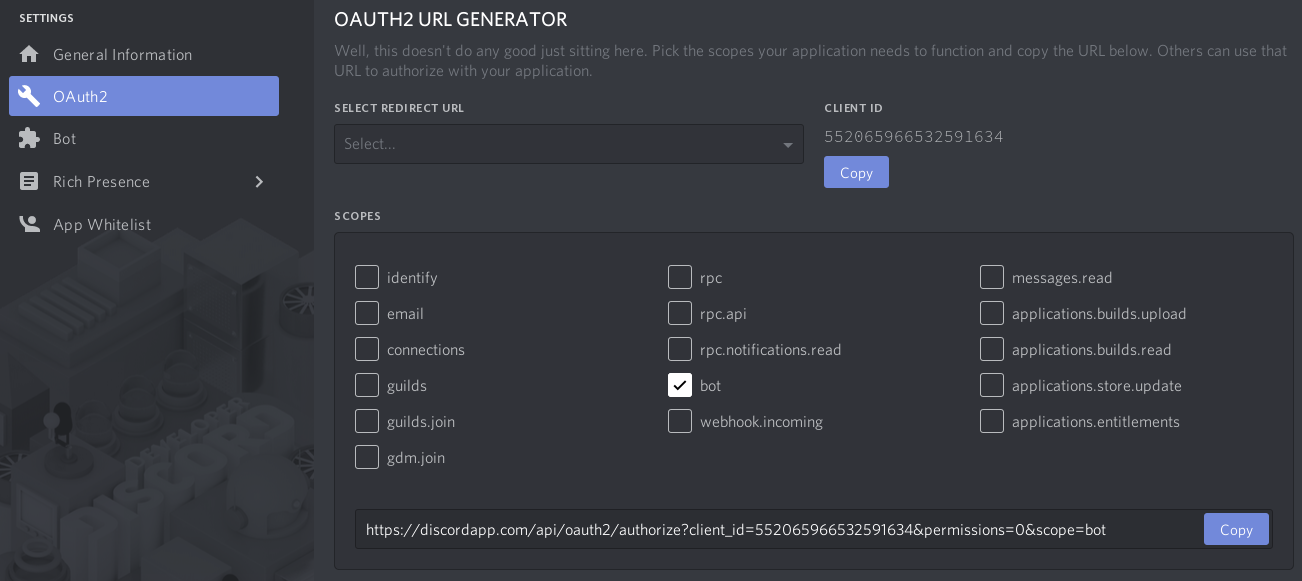
The URL to copy and paste after you create your bot is the following:
https://discordapp.com/api/oauth2/authorize?client_id=##################&permissions=2048&scope=bot
Note the fact that the bot's ID will be shown instead of the #s above. Also, the permissions will be set to 0. Now, the permissions number that was obtained from the permissions figure, 2048, is replaced with the 0 from the last figure.
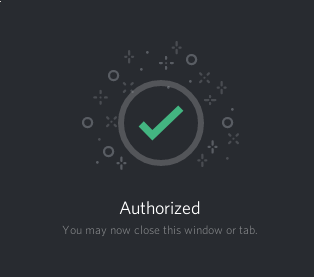
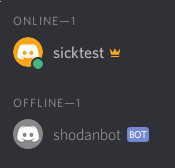
After applying the permissions and going to the correct URL, invite the bot to the server created to test.
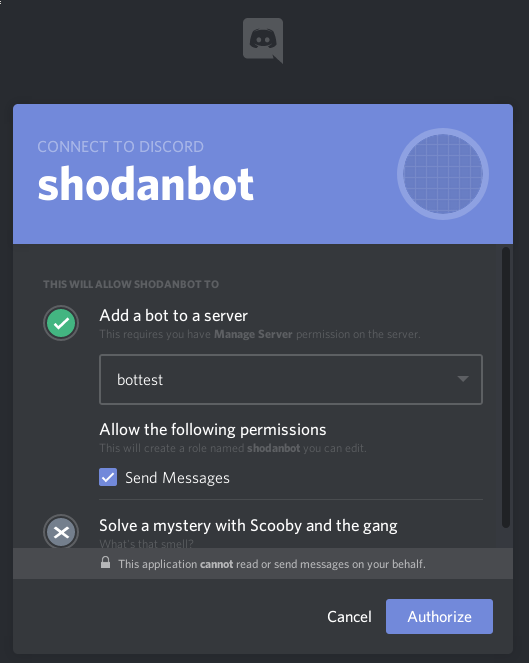
Please follow the file in the ShodanBot directory and create your bot!
By the end of getting the basics from this lab, you will be able to create and maintain your own Discord bot that utilizes a database to retain information and uses an API to interface with another application.
