Open the Git Bash
Creating the SSH Connection
$ ssh -i /c/Users/ankit/Desktop/test-vm_key.pem [email protected]
Pre-Requisites:
- Java (JDK)
Install Java
sudo apt update
sudo apt install OpenJDK-11-jre
Verify Java is Installed
java -version
Now, you can proceed with installing Jenkins
curl -fsSL https://pkg.jenkins.io/debian/jenkins.io-2023.key | sudo tee \
  /usr/share/keyrings/jenkins-keyring.asc > /dev/null
echo deb [signed-by=/usr/share/keyrings/jenkins-keyring.asc] \
  https://pkg.jenkins.io/debian binary/ | sudo tee \
  /etc/apt/sources.list.d/jenkins.list > /dev/null
sudo apt-get update
sudo apt-get install jenkins
**Note: ** By default, Jenkins will not be accessible to the external world due to AWS's inbound traffic restriction. Open port 8080 in the inbound traffic rules as shown below.
- VM > Network Setting > Click on
- Add Port Number 8080
- Add inbound traffic rules as shown in the image (you can just allow TCP 8080 as well, in my case, I allowed
All traffic).
- Add inbound traffic rules as shown in the image (you can just allow TCP 8080 as well, in my case, I allowed
http://:8080 [You can get the -public-ip-address from your VM Overview page]
Note: If you are not interested in allowing All Traffic to your EC2 instance
1. Delete the inbound traffic rule for your instance
2. Edit the inbound traffic rule only to allow custom TCP port 8080
After you log in to Jenkins,
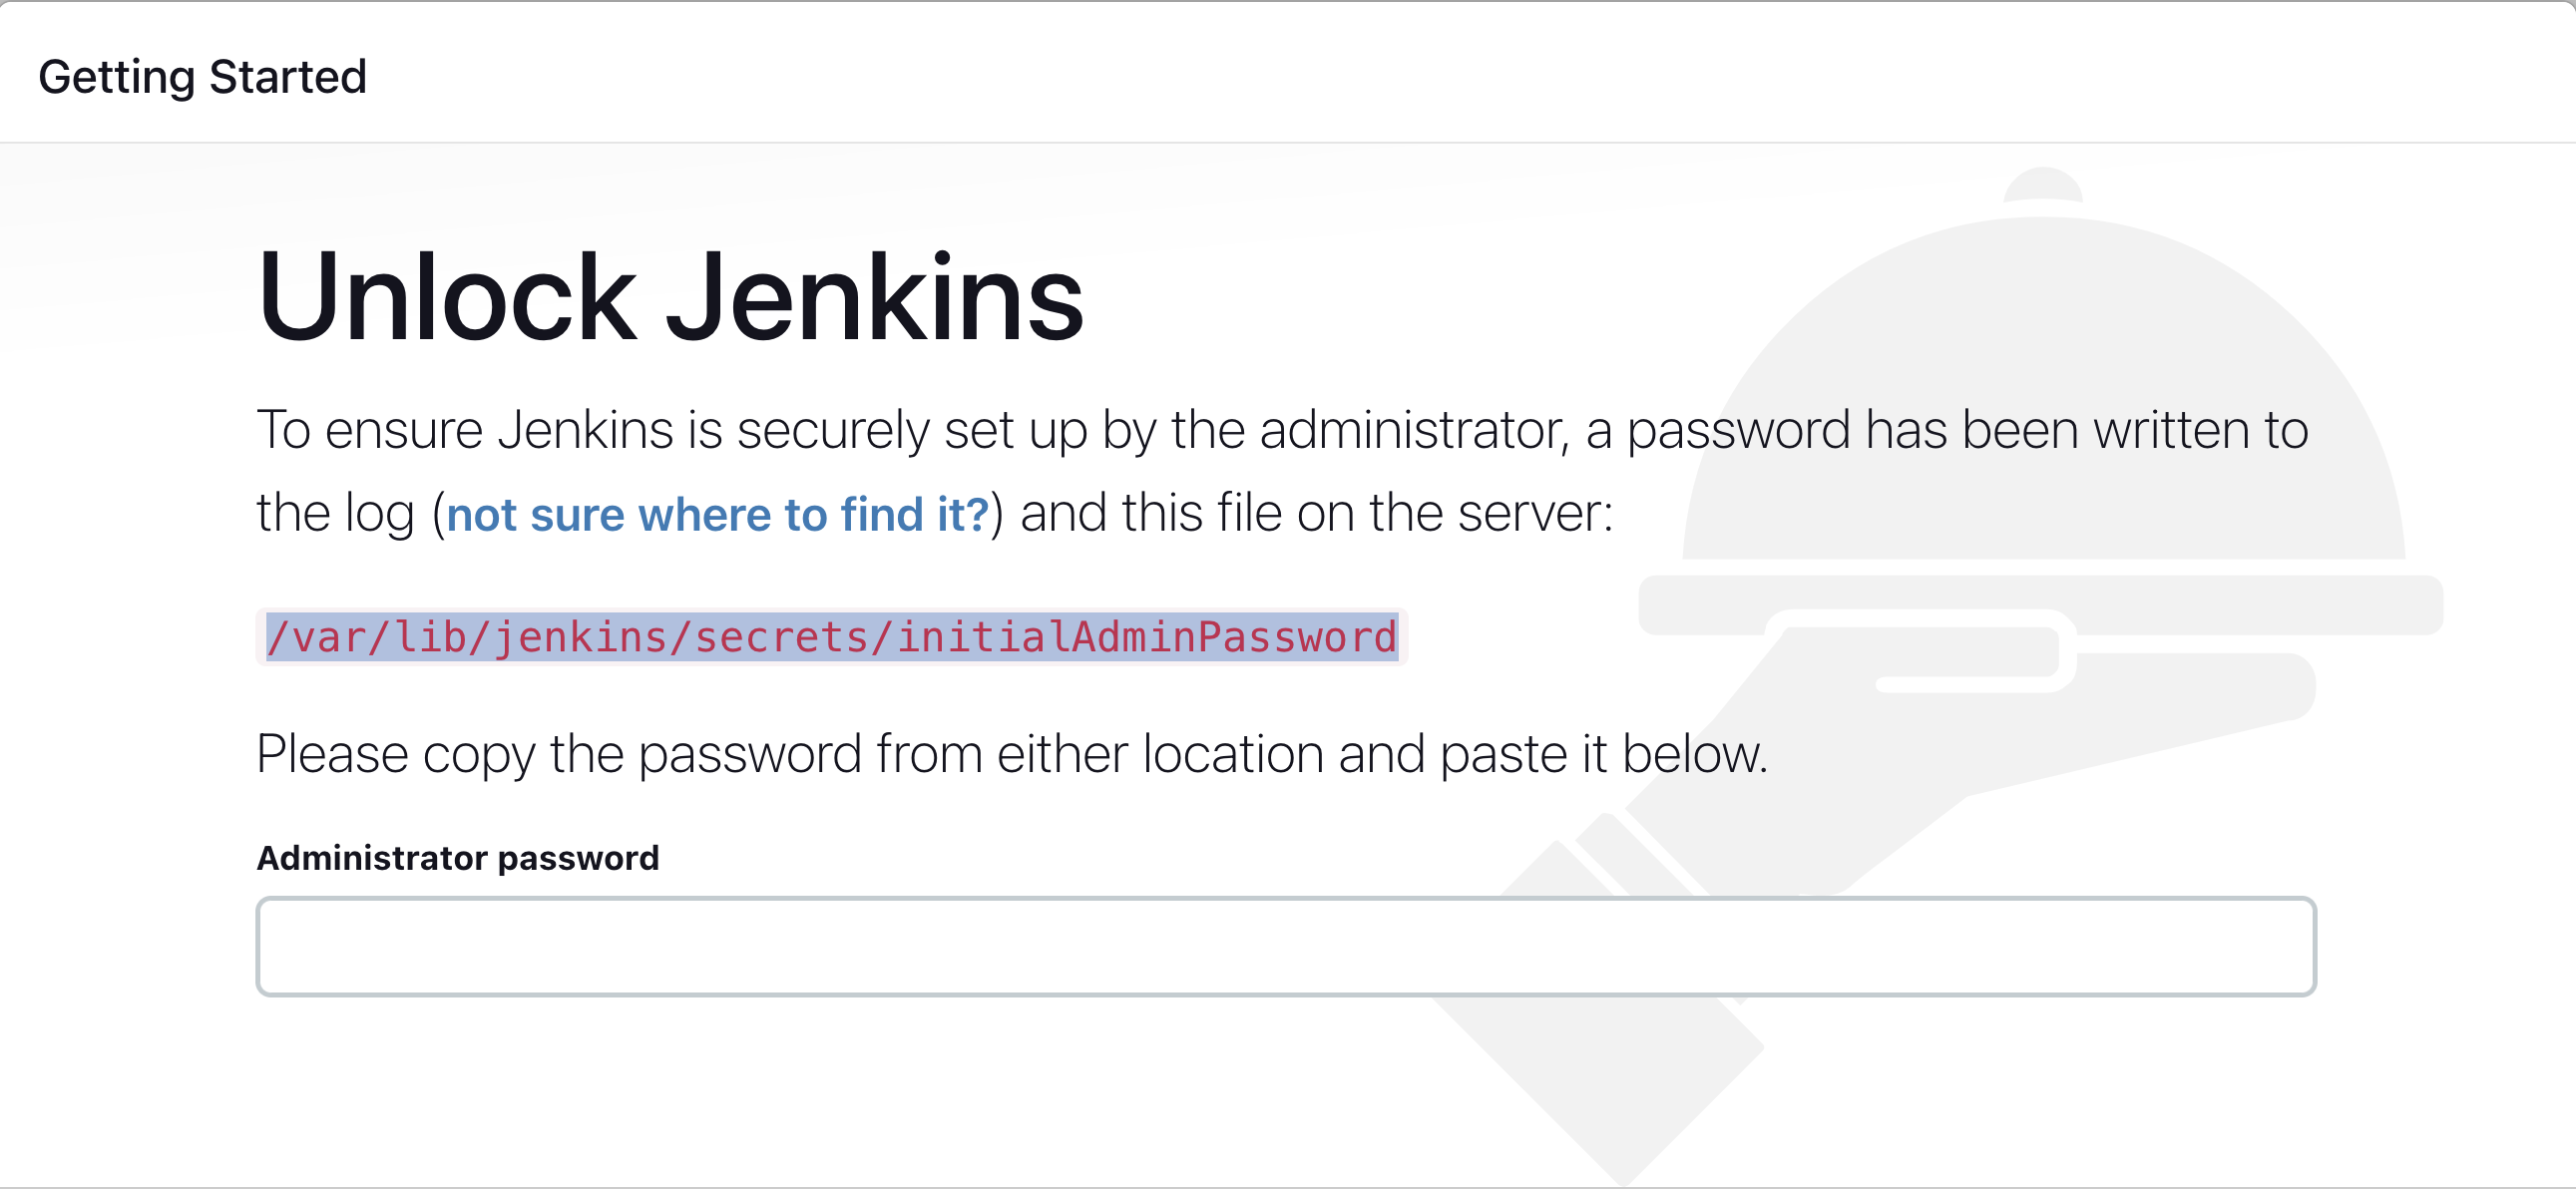
- Run the command to copy the Jenkins Admin Password - sudo cat /var/lib/jenkins/secrets/initialAdminPassword
- Enter the Administrator password
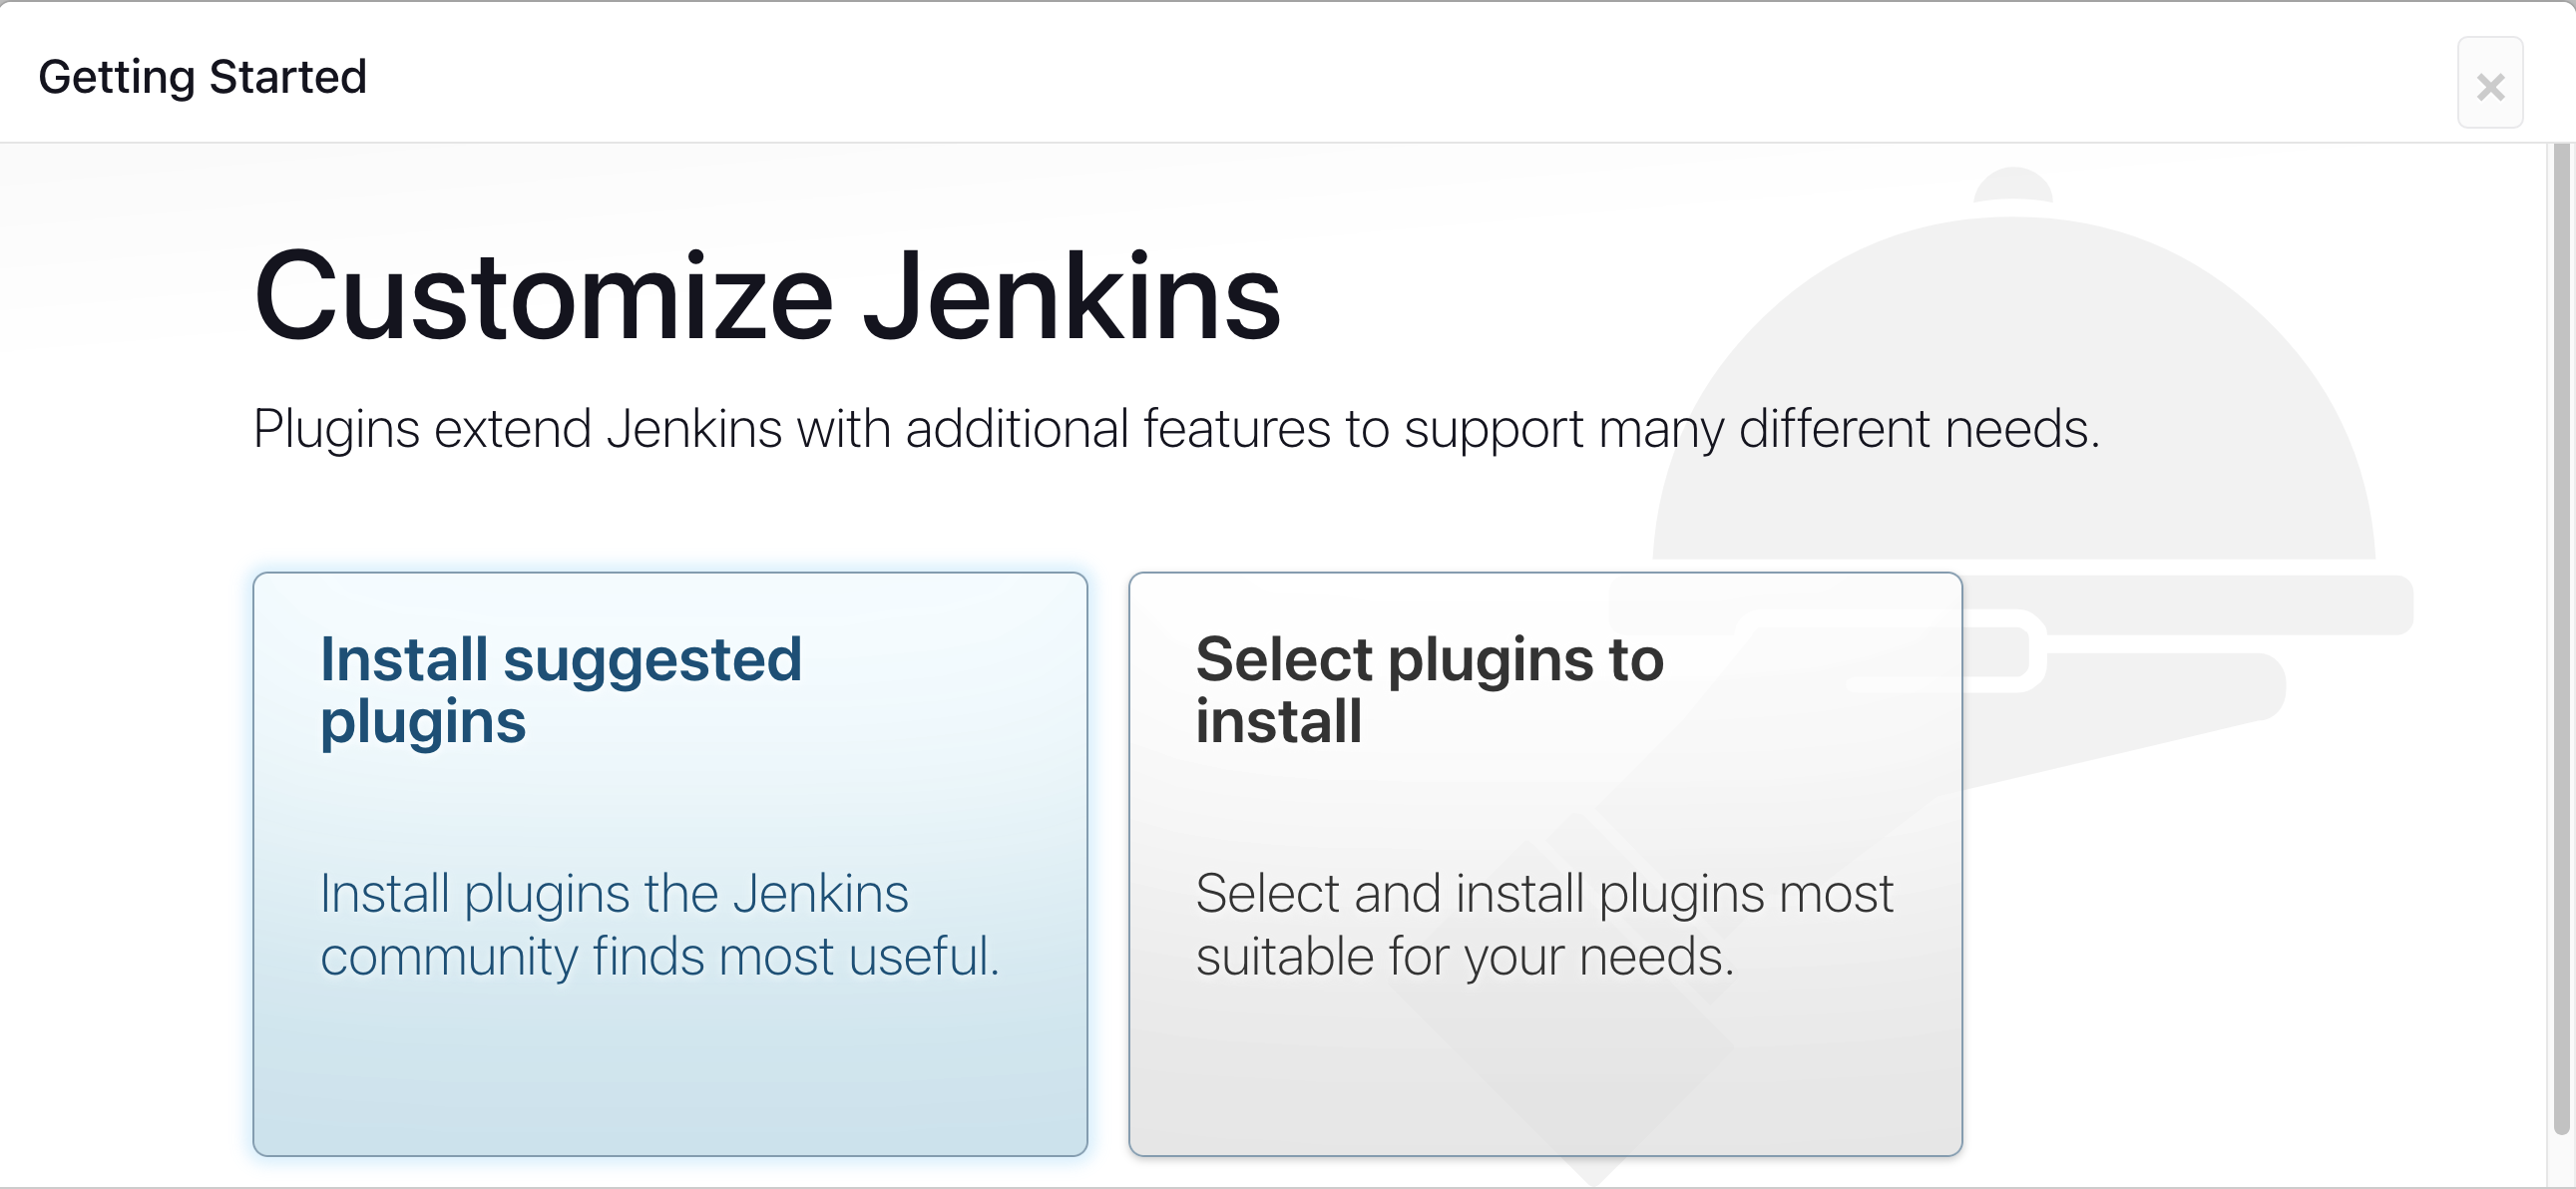
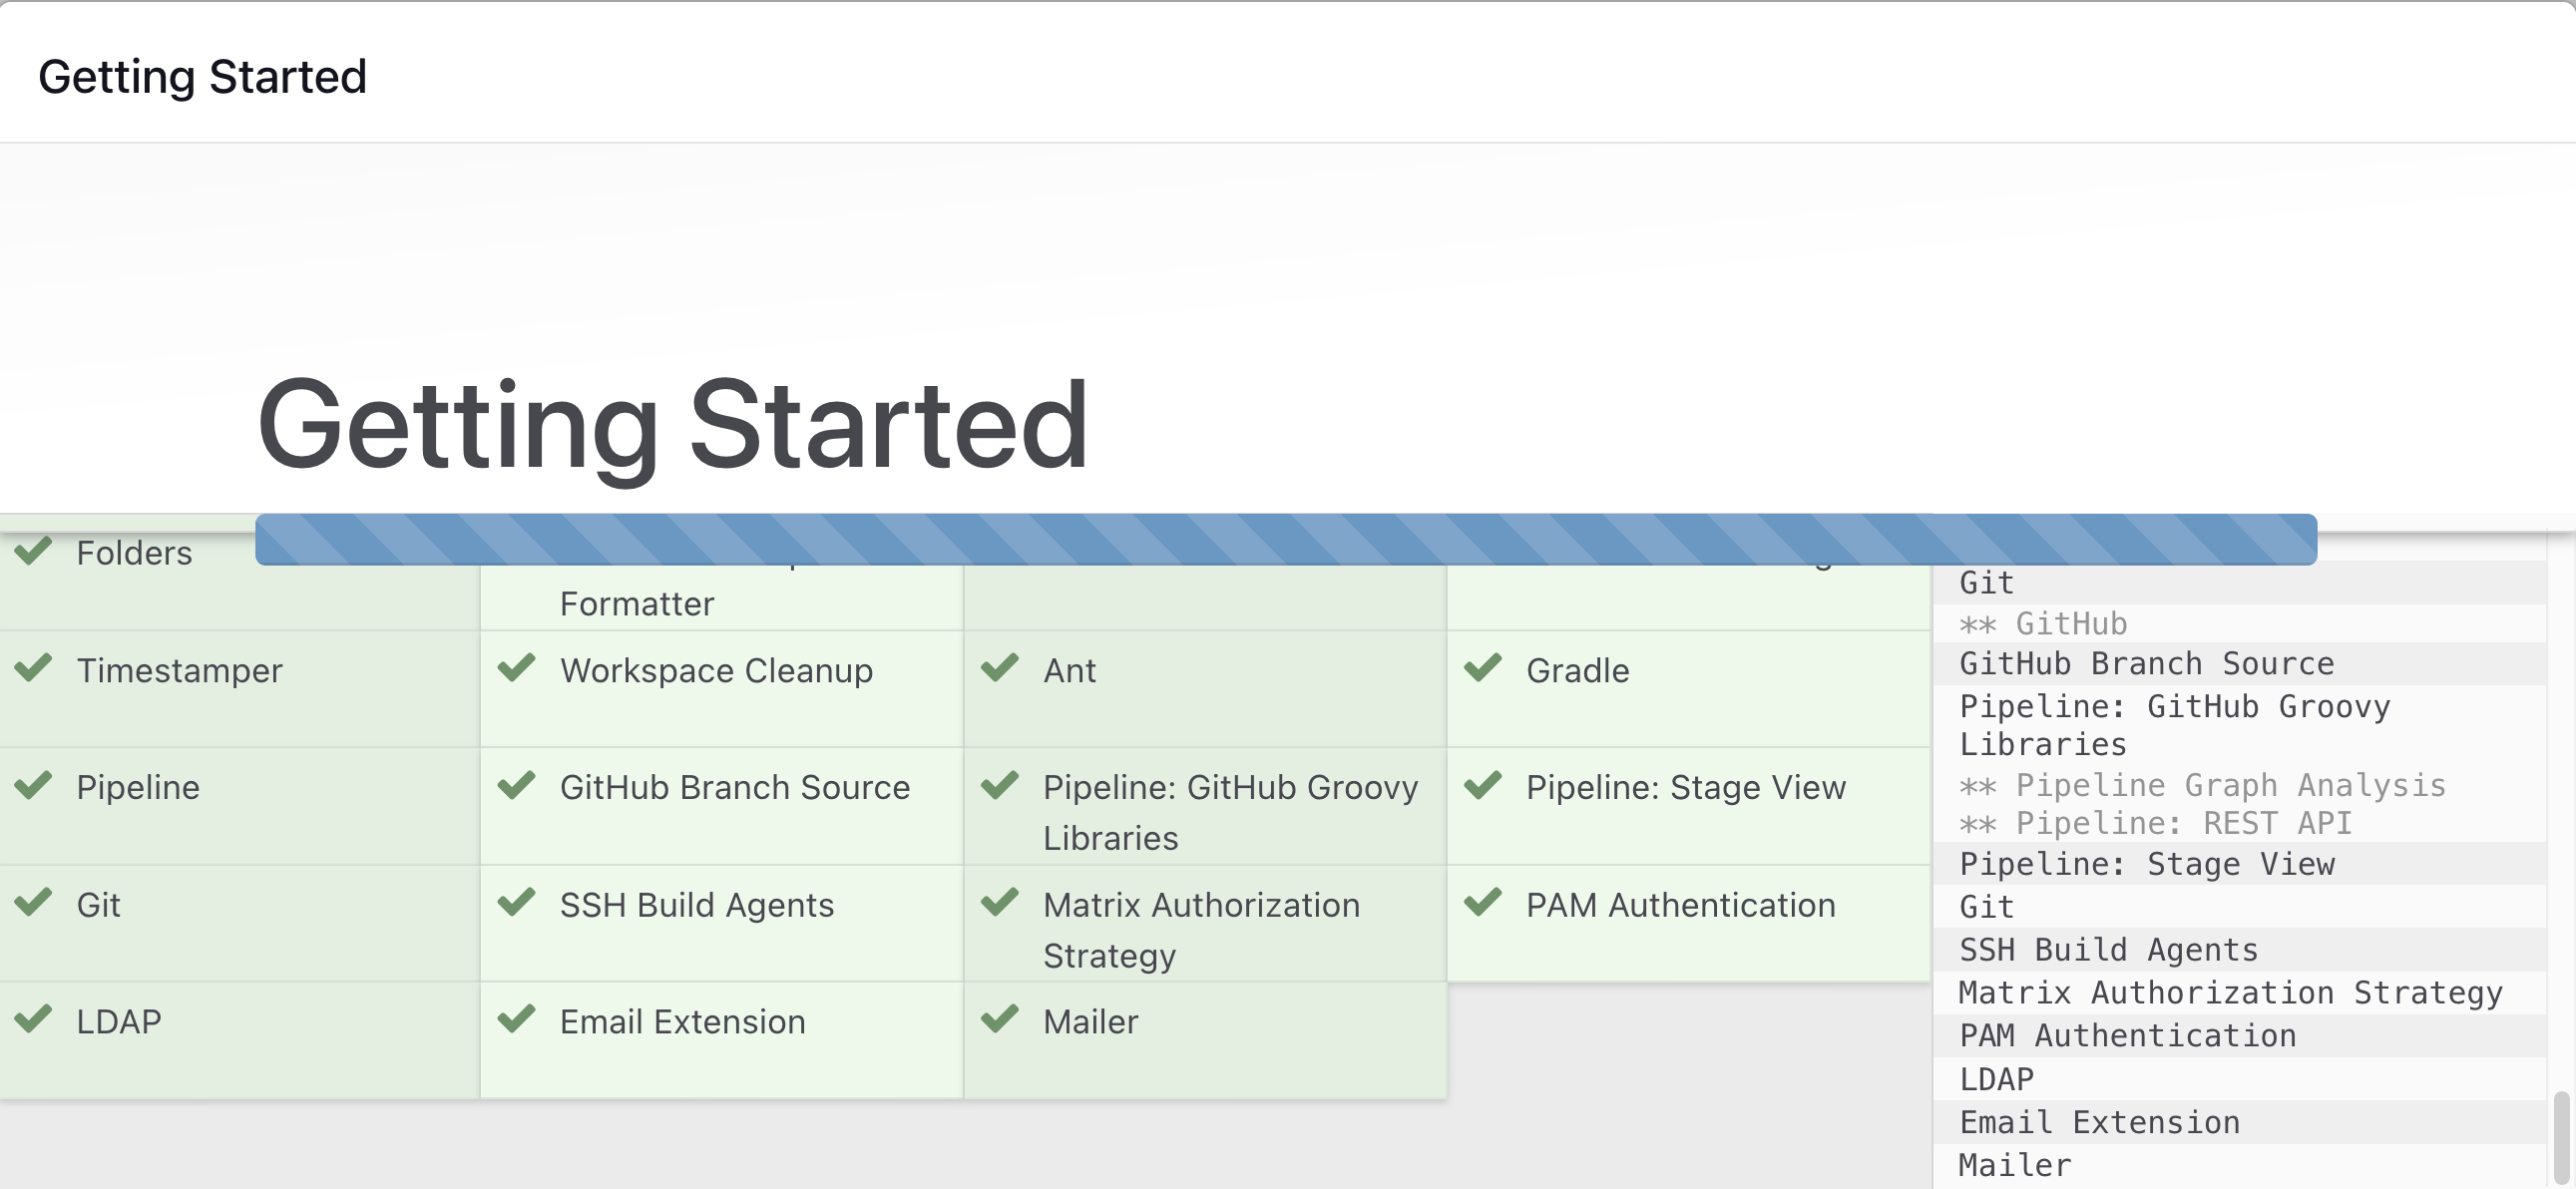
Wait for the Jenkins to Install suggested plugins
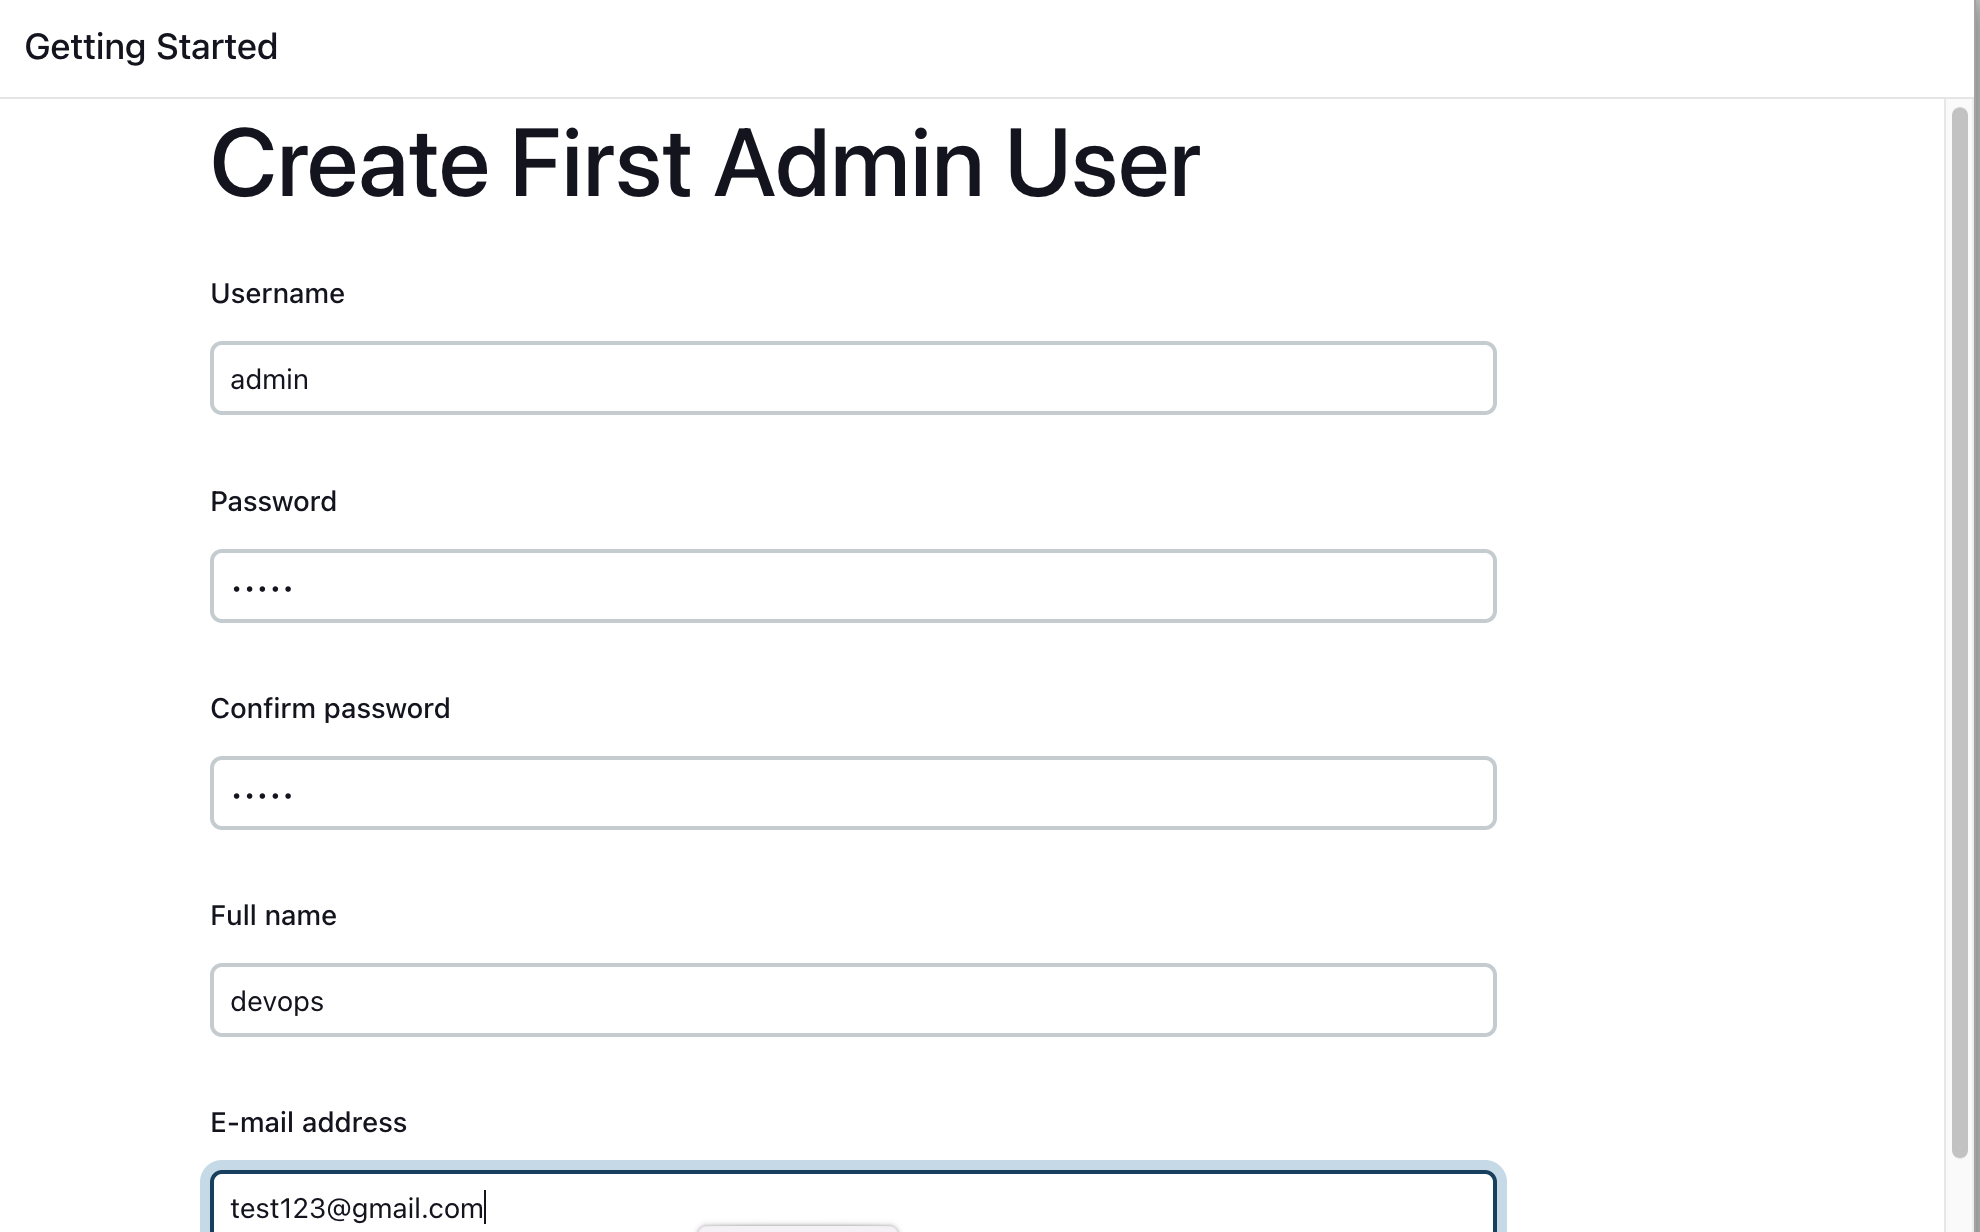
Create First Admin User or Skip the step [If you want to use this Jenkins instance for future use-cases as well, it is better to create an admin user]
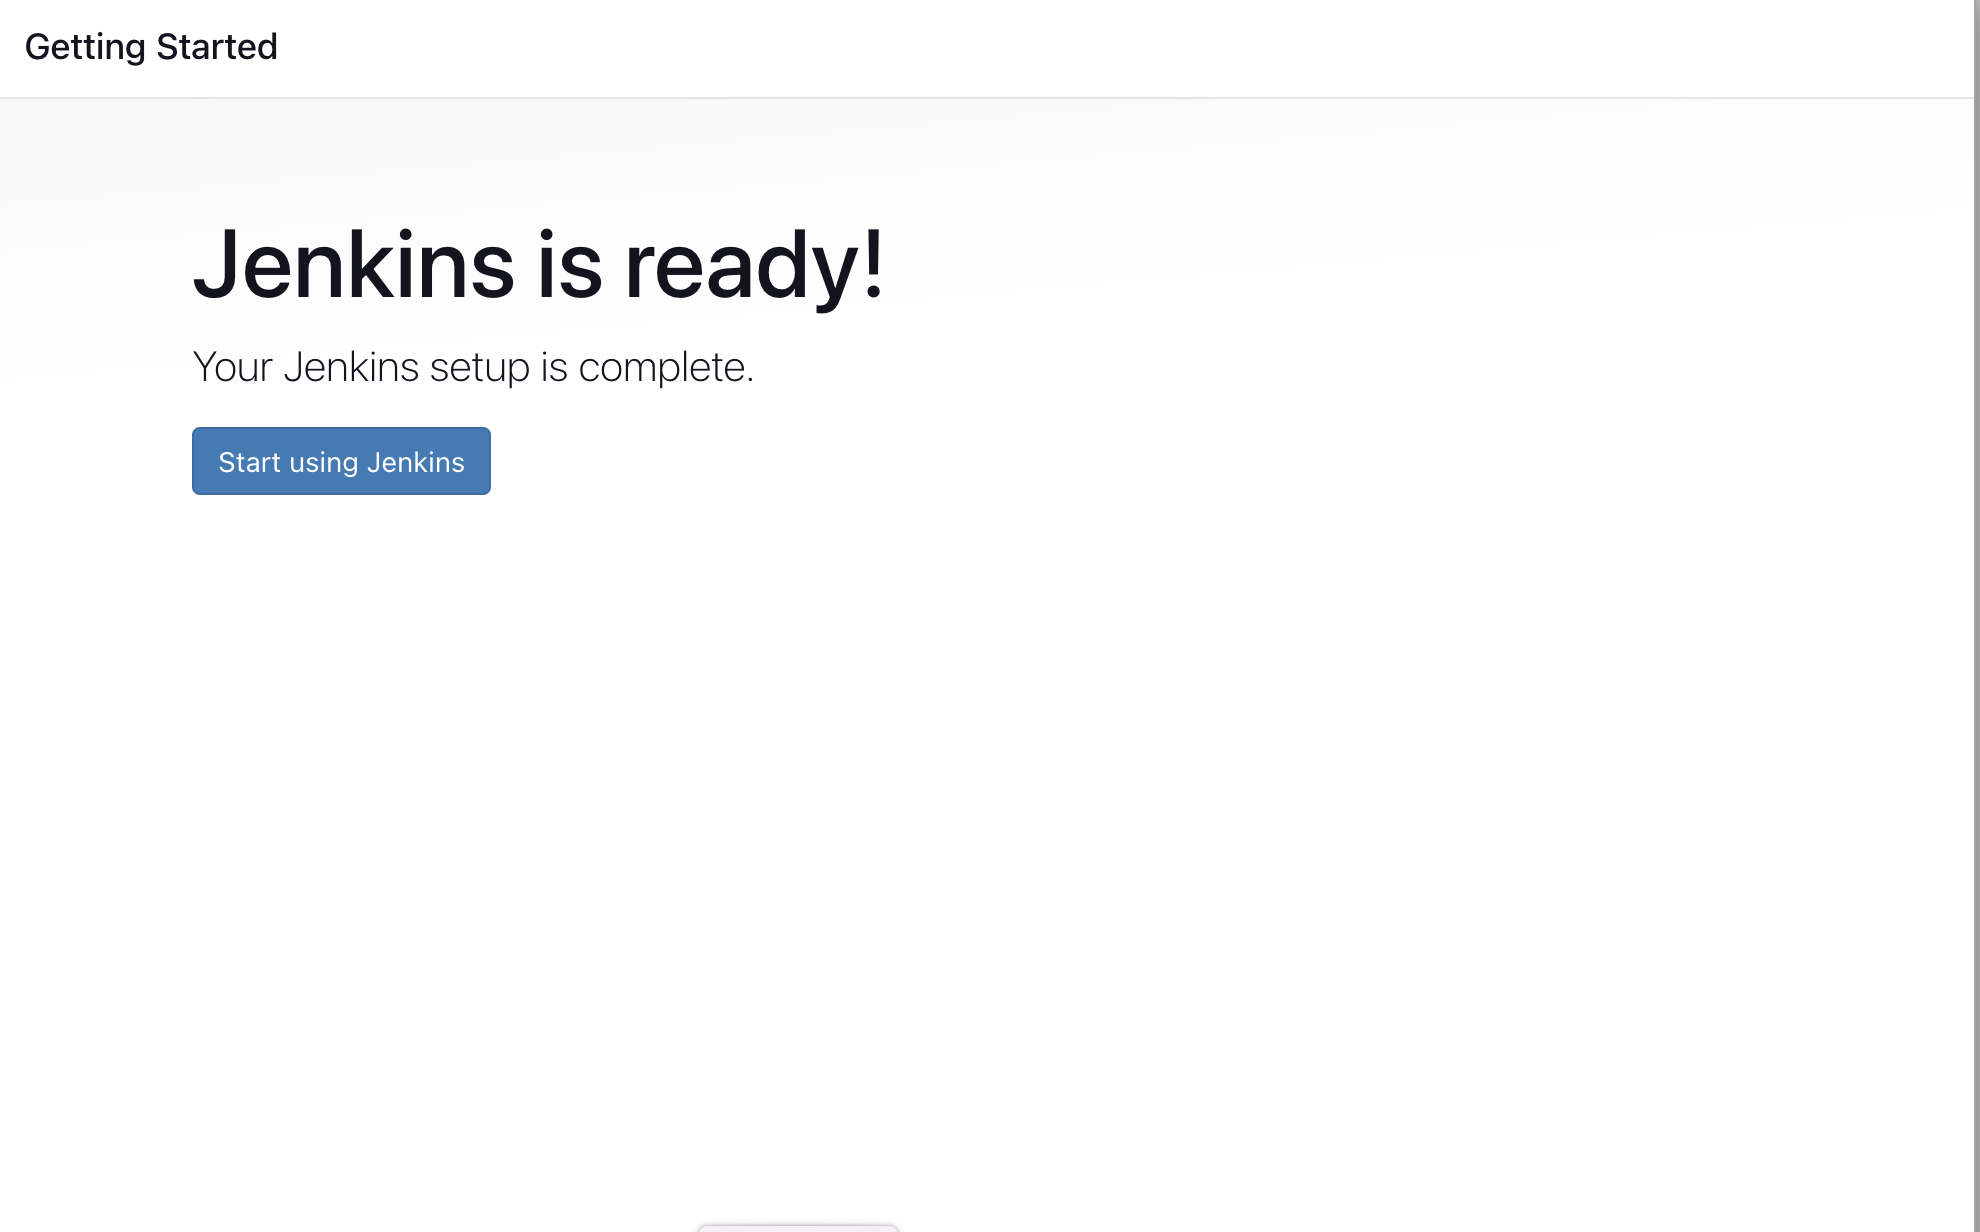
Jenkins Installation is Successful. You can now starting using the Jenkins


