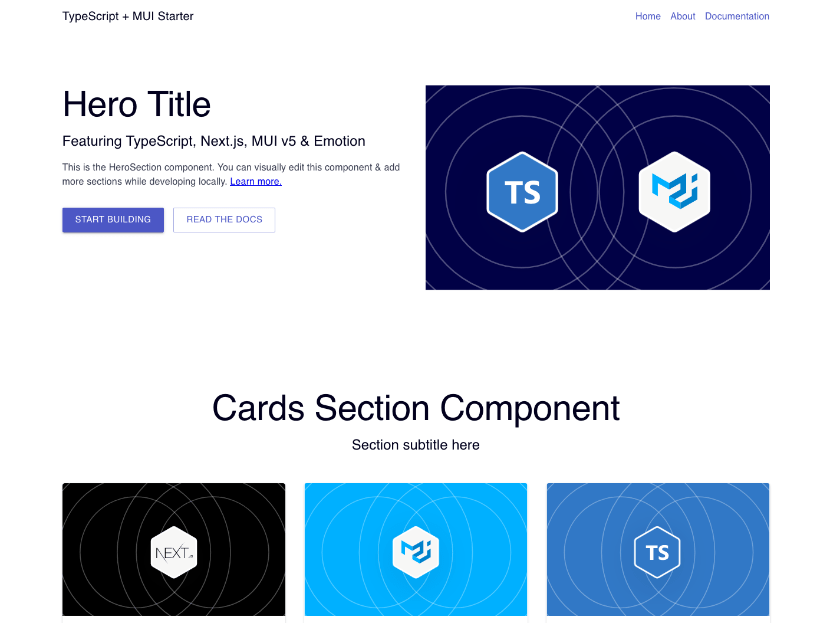
This is a minimal starting point for new Netlify projects with visual editing. It is built with Next.js, TypeScript, and MUI, and is equipped with visual editing capabilities. It uses markdown files as the the Git Content Source.
⚡ View demo: ts-mui-starter.netlify.app
If you click "Deploy to Netlify" button, it will create a new repo for you that looks exactly like this one, and sets that repo up immediately for deployment on Netlify.
This is meant to be a simple starting point that demonstrates the use of bringing your own component library, such as MUI.
In addition to MUI support, this project contains the following:
- Flexible Pages: Simple and flexible page model that lets editors add new pages.
- Basic Components: A few basic components to add to new pages.
- Layout Elements: Header and footer elements automatically added to pages.
- Component & Template Presets: Predefined arrangements of content and components for faster editing. Learn more.
- TypeScript Support: Components and content are type-safe. (See
typesdirectory for definitions.)
The typical development process is to begin by working locally. Clone this repository, then run npm install in its root directory.
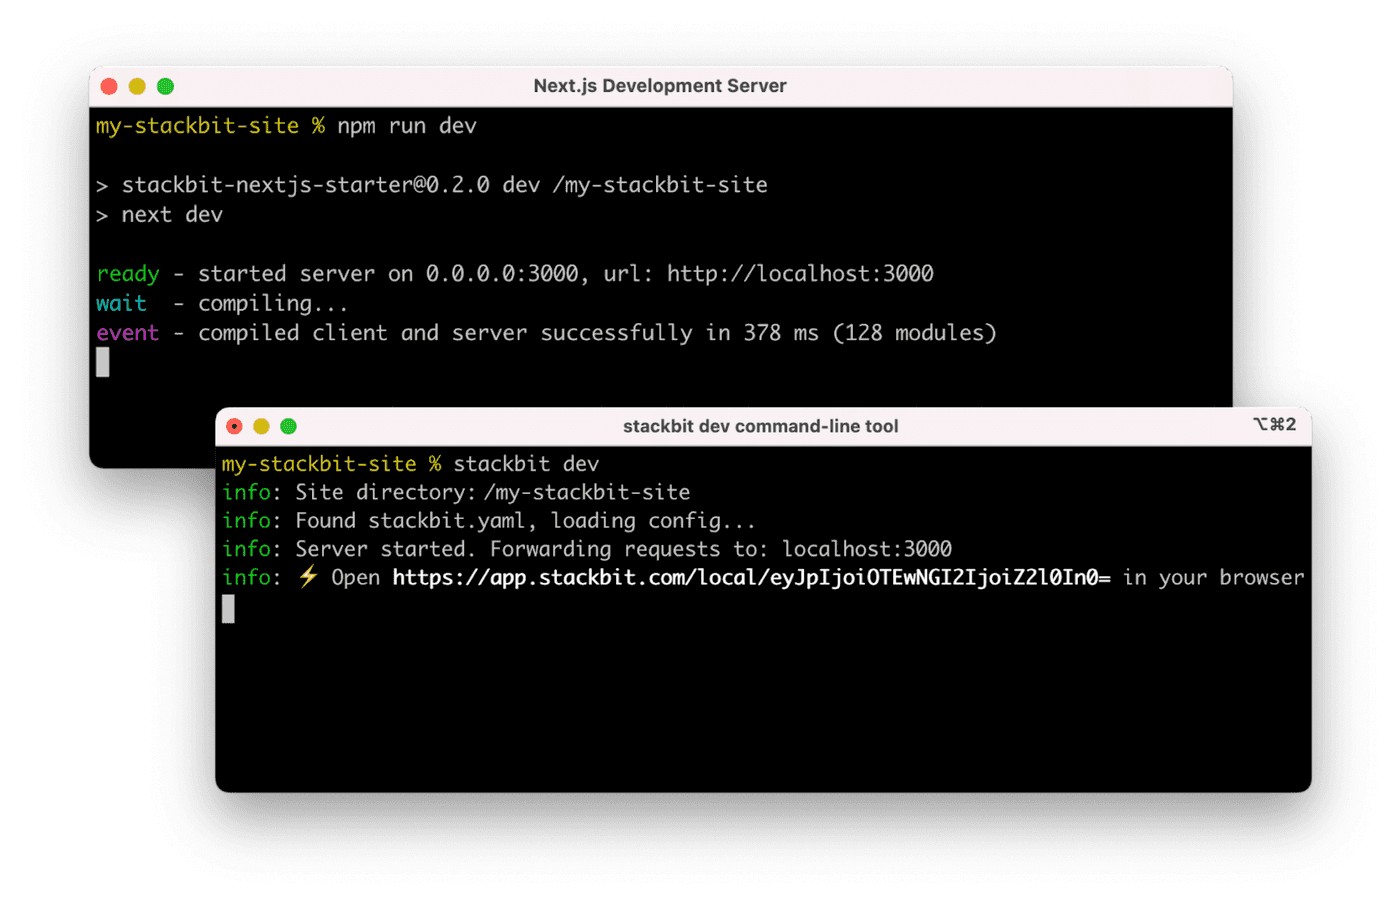
Run the Next.js development server:
cd ts-mui-nextjs-starter
npm run dev
Install the Netlify Create CLI. Then open a new terminal window in the same project directory and run the Netlify Create Dev server:
npm install -g @stackbit/cli
stackbit dev
This outputs your own Netlify visual editor URL. Open this, register, or sign in, and you will be directed to the Netlify visual editor for your new project.
Here are a few suggestions on what to do next if you're new to Netlify visual editor:
If you get stuck along the way, get help in our support forums.


