-
Notifications
You must be signed in to change notification settings - Fork 15
Setting Up Shortcut for Your Podcast
This page is a guide to setting up Shortcut on an Amazon AWS server. If you have set up a Wordpress site on a web server, you should probably be able to do the steps listed here. If you haven't, you might want to consider hiring a web developer to set it up for you (once it's set up, administering it is really easy).
You'll of course have to pay for running the server on Amazon, but it's not all that expensive: something along the lines of $10/mo. If your Shortcut server ends up having a huge amount of traffic, you might need to upgrade to a more expensive server (it's a one-button upgrade). If your podcast is low-traffic, you might even be able to get away with using their free tier.
As always, if you run into any roadblocks, please sign in to our Gitter chat room and we (the Feel Train team) will get back to you as soon as we can.
This guide assumes the following:
- you have an Amazon AWS account. Please sign up for one at https://aws.amazon.com if you haven't yet.
- you have a podcast with an RSS feed that has every episode of your podcast in it (the RSS feed is how Shortcut knows all the info about your podcast, so if this doesn't have every episode on it, Shortcut won't have access to every episode)
- the RSS feed is iTunes compatible (if your podcast is on iTunes then this is true)
- you have a written transcript of at least one episode of your podcast
This last bit is really important. If you don't have a transcript, Shortcut won't work! There are of course many different ways to get a transcript including typing it up yourself. We really like Temi, which creates pretty decent transcripts of audio files for $0.10 a minute (so $3.00 for a 30 minute podcast episode). In the end though all you'll need is the text of a transcript that you can paste into the Shortcut admin panel when the time comes.
To launch an EC2 instance with the Shortcut AMI, simply click this bookmark link, which will begin the instance creation process for you. You should now see the "Step 2: Choose an Instance Type" prompt—select a t2.small or larger instance. The larger the instance you pick, the more money it will generally cost you to run but a larger instance will handle more traffic and synchronize your transcripts faster. A t2.small is good enough though it can take a long time to synchronize transcripts for long episodes.
Press "Next" until you get to "Configure Security Groups" and configure a new security group with the following rules:
| Type | Protocol | Port Range | Source |
|---|---|---|---|
| HTTP | TCP | 80 | Anywhere |
| HTTPS | TCP | 443 | Anywhere |
| Custom TCP | TCP | 3000 | Anywhere |
Press "Review and Launch". Review the settings (there will be a warning about your instance being open to the public due to the custom TCP ports we opened for authentication, it's okay) and click "Launch".
A box will pop up asking you to select a keypair. Choose "proceed without a keypair" and check the box acknowledging that you understand you won't be able to log directly in. (If you are a power user and would like to SSH to this instance, make sure you opened port 22 in the security groups and then follow the instructions to create a keypair. If you don't understand any of this parenthetical, ignore it!)
After this step it should say "Your instances are now launching." Click the blue button on the bottom right that says "view instances". This will take you to the main Amazon EC2 dashboard.
We're going to use Amazon's Elastic IP to assign a static IP to the new instance. This means the server will always have its own IP address, which lets us also assign it to a domain name later.
In the EC2 console in the left menu, under "Network & Security", click "Elastic IPs". Press the "Allocate new address" button, then "Allocate". You should see a success message along with an IP address that looks like 00.160.201.63 or similar. COPY THESE NUMBERS DOWN SOMEWHERE. Close this message and then right-click on the new IP (the one you just wrote down). Select your instance you just launched and click "Associate". You should see the message "Associate address request succeeded." Hit the Close button. Now you have a static IP for your server, which will come in handy later when we configure our domain name.
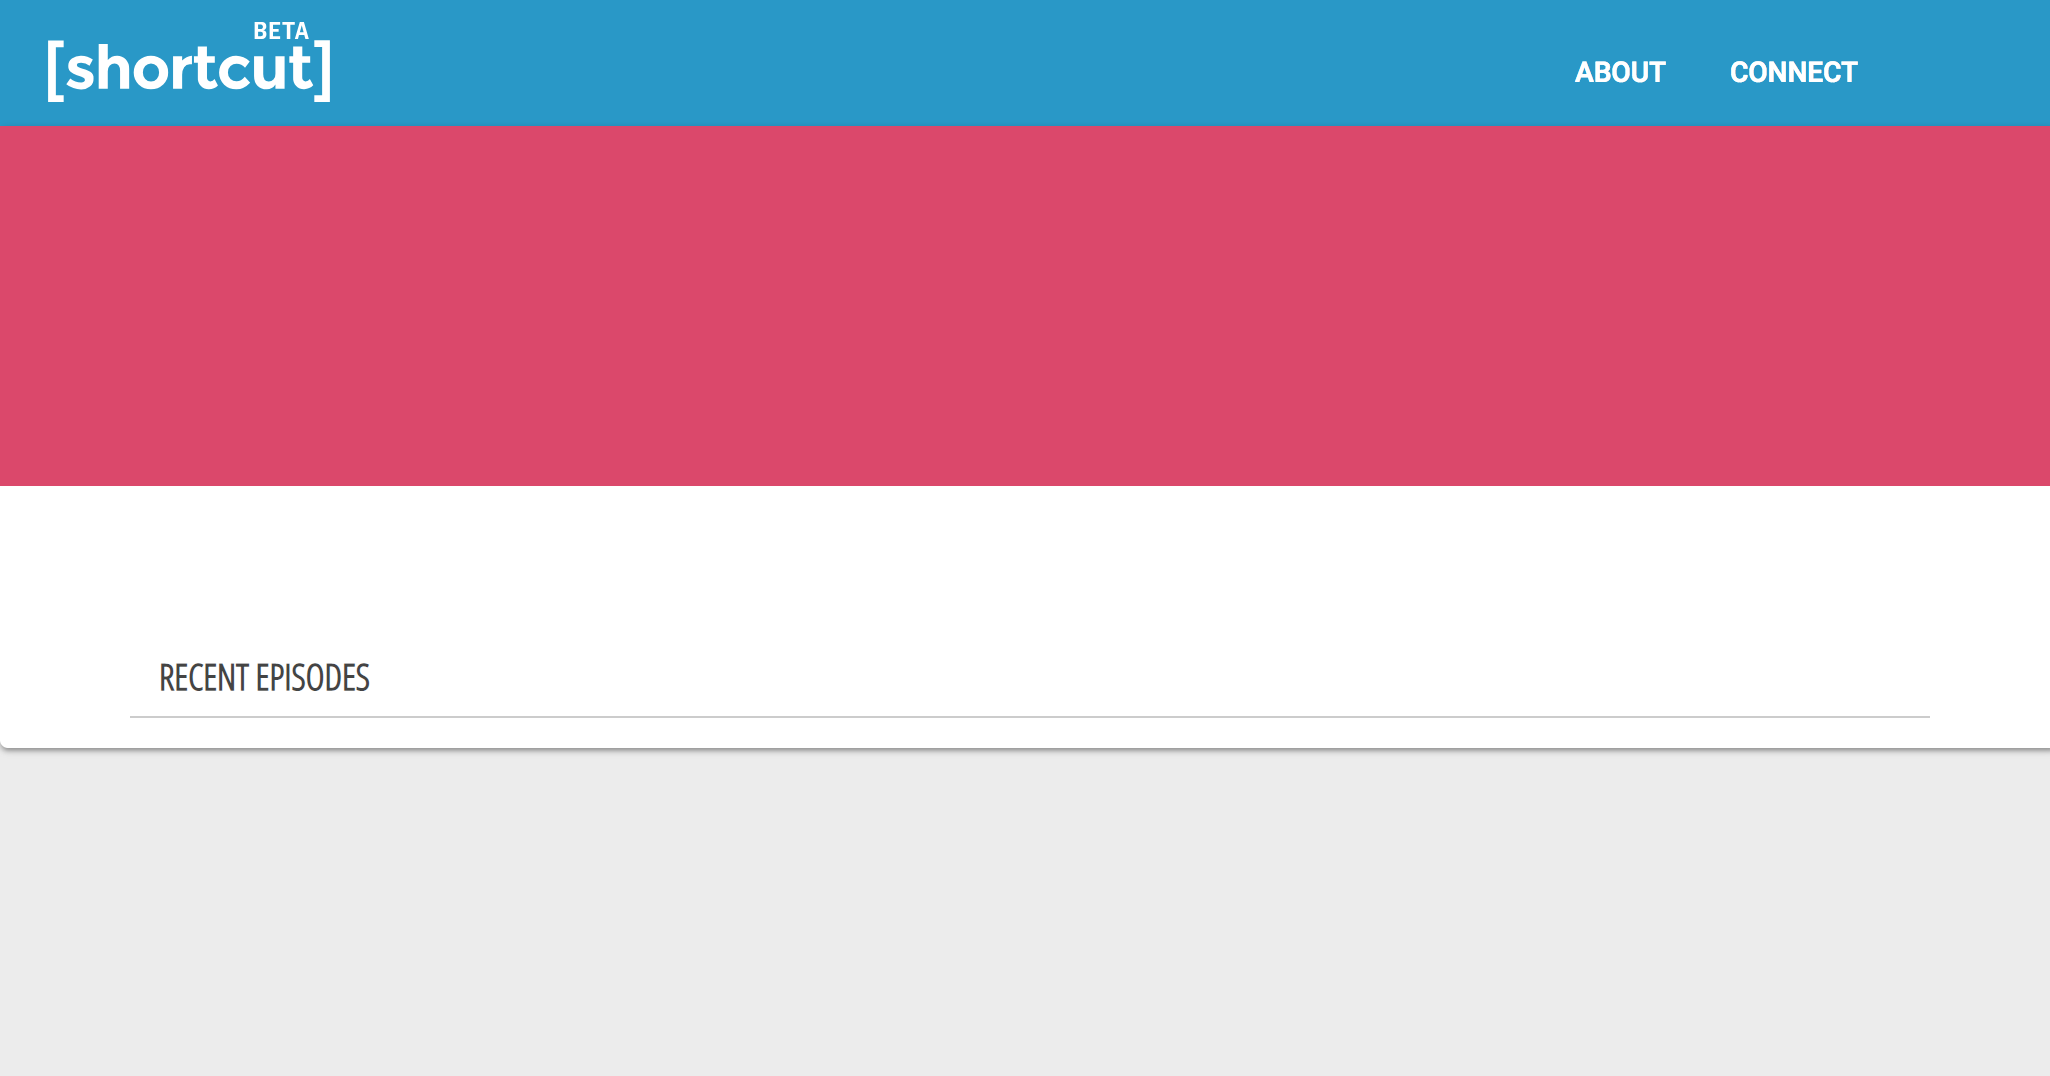
If you go to your new IP in a web browser window, you should see this:
At this point in the tutorial, we could set up Shortcut so it's working. But you probably don't want to serve Shortcut off http://123.45.67.890! More likely you want to serve it off a subdomain like http://shortcut.mypodcastwebsite.com, which will require configuring DNS. The extremely short version of this is:
- Go to your DNS provider (usually your domain registrar, which is sometimes the same as your web host) and set an A record for the subdomain you want, and point it to the Elastic IP address you assigned above.
- So in the above example you would set the A record name to
shortcutand set the DNS to123.46.67.890.
This will create the subdomain. Your DNS provider should have instructions on how to do this that you can google for. For example, if your DNS provider is GoDaddy you can search for godaddy set dns "a record". When in doubt, contact your web host.
We currently haven't figured out a good way to make HTTPS work with the amazon image. If you want to set up Shortcut for https you will need to do some systems administration type stuff and actually log in to a command line on the server. That's not what this tutorial is for. If we eventually figure out a way to make this work easily we will update this document!
We use S3, Amazon's file storage service, as part of Shortcut. The Shortcut server creates the videos and then uploads them to S3 for semi-permanent storage and access. Since you already have an AWS account, these are the steps to creating and setting up a new S3 "Bucket" (their term for a place where you store files):
- Log in to AWS
- Go to your S3 dashboard.
- Click "Create Bucket"
- Name it something like
shortcut-my-podcast, and make a note of this name - Select a region, ideally one geographically close to most of your listeners. DO NOT PICK "US East (N. Virginia)" -- Amazon treats that as a special case for silly legacy reasons so certain things don't work and it's easier on everyone if you just don't go with that region.
- Write down the region you just chose. It should be a place name like "US West (Oregon)" or "Asia Pacific (Seoul)". We're going to use this later.
- Click "Next" twice to get to "Set Permissions" and uncheck all four of the check boxes. (videos are created and uploaded to S3, so users need to be able to download those videos)
- Hit "Next" and then "Create Bucket"
Next, go to this page and look up the short region code for your S3 bucket. For example, if you picked "Canada (Central)" then your short code will be ca-central-1. Find that on the table here
Now we'll set up CORS (cross-domain file access).
- From the main S3 dashboard, click on the name of the bucket you just created
- Click the "Permissions" tab
- Click the "CORS configuration" button
- Overwrite the example CORS configuration with the one below and hit "Save"
<?xml version="1.0" encoding="UTF-8"?>
<CORSConfiguration xmlns="http://s3.amazonaws.com/doc/2006-03-01/">
<CORSRule>
    <AllowedOrigin>*</AllowedOrigin>
    <AllowedMethod>GET</AllowedMethod>
    <MaxAgeSeconds>3000</MaxAgeSeconds>
    <AllowedHeader>*</AllowedHeader>
</CORSRule>
</CORSConfiguration>
Save that and now you should be good to go!
Next, we need to give Shortcut programmatic write access to this bucket. We'll do this the way Amazon suggests, which is to create an IAM user just for Shortcut.
- Go to your IAM dashboard.
- Click "Users" in the left-hand menu
- Click "Add User" at the top
- Enter a user name
- Select "Programmatic access" under "Access type" and hit "Next"
- Select "Create Group"
- Enter a group name ("s3-full-access" is fine)
- Scroll down (or use the search filter) and find "AmazonS3FullAccess" and tick the box

- Click "Create Group"
- Ensure that your new group is selected in the group selection dialog, then click "Next: Tags" and then immediately click "Next: Review"
- Click "Create User"
Now you should see an access key and a secret key (the secret key needs to be revealed by clicking "Show"). Copy both of these into a text file because we'll be using them in our next steps.
You should now have written down: an access key, a secret key, a region (like "US West (Oregon)"), the region's code (like us-west-2) and the name of your bucket. We're going to use these in our next steps.
Now the fun part.
Go to http://shortcut.mypodcastwebsite.com/#/setup, replacing shortcut with whatever you named your subdomain and mypodcastwebsite.com with the name of your domain.
Your web browser will prompt you for a user name and password. Put in the default, which is "admin" for the user and "1234" for the password. We'll change this in a minute.
You'll see the following screen:
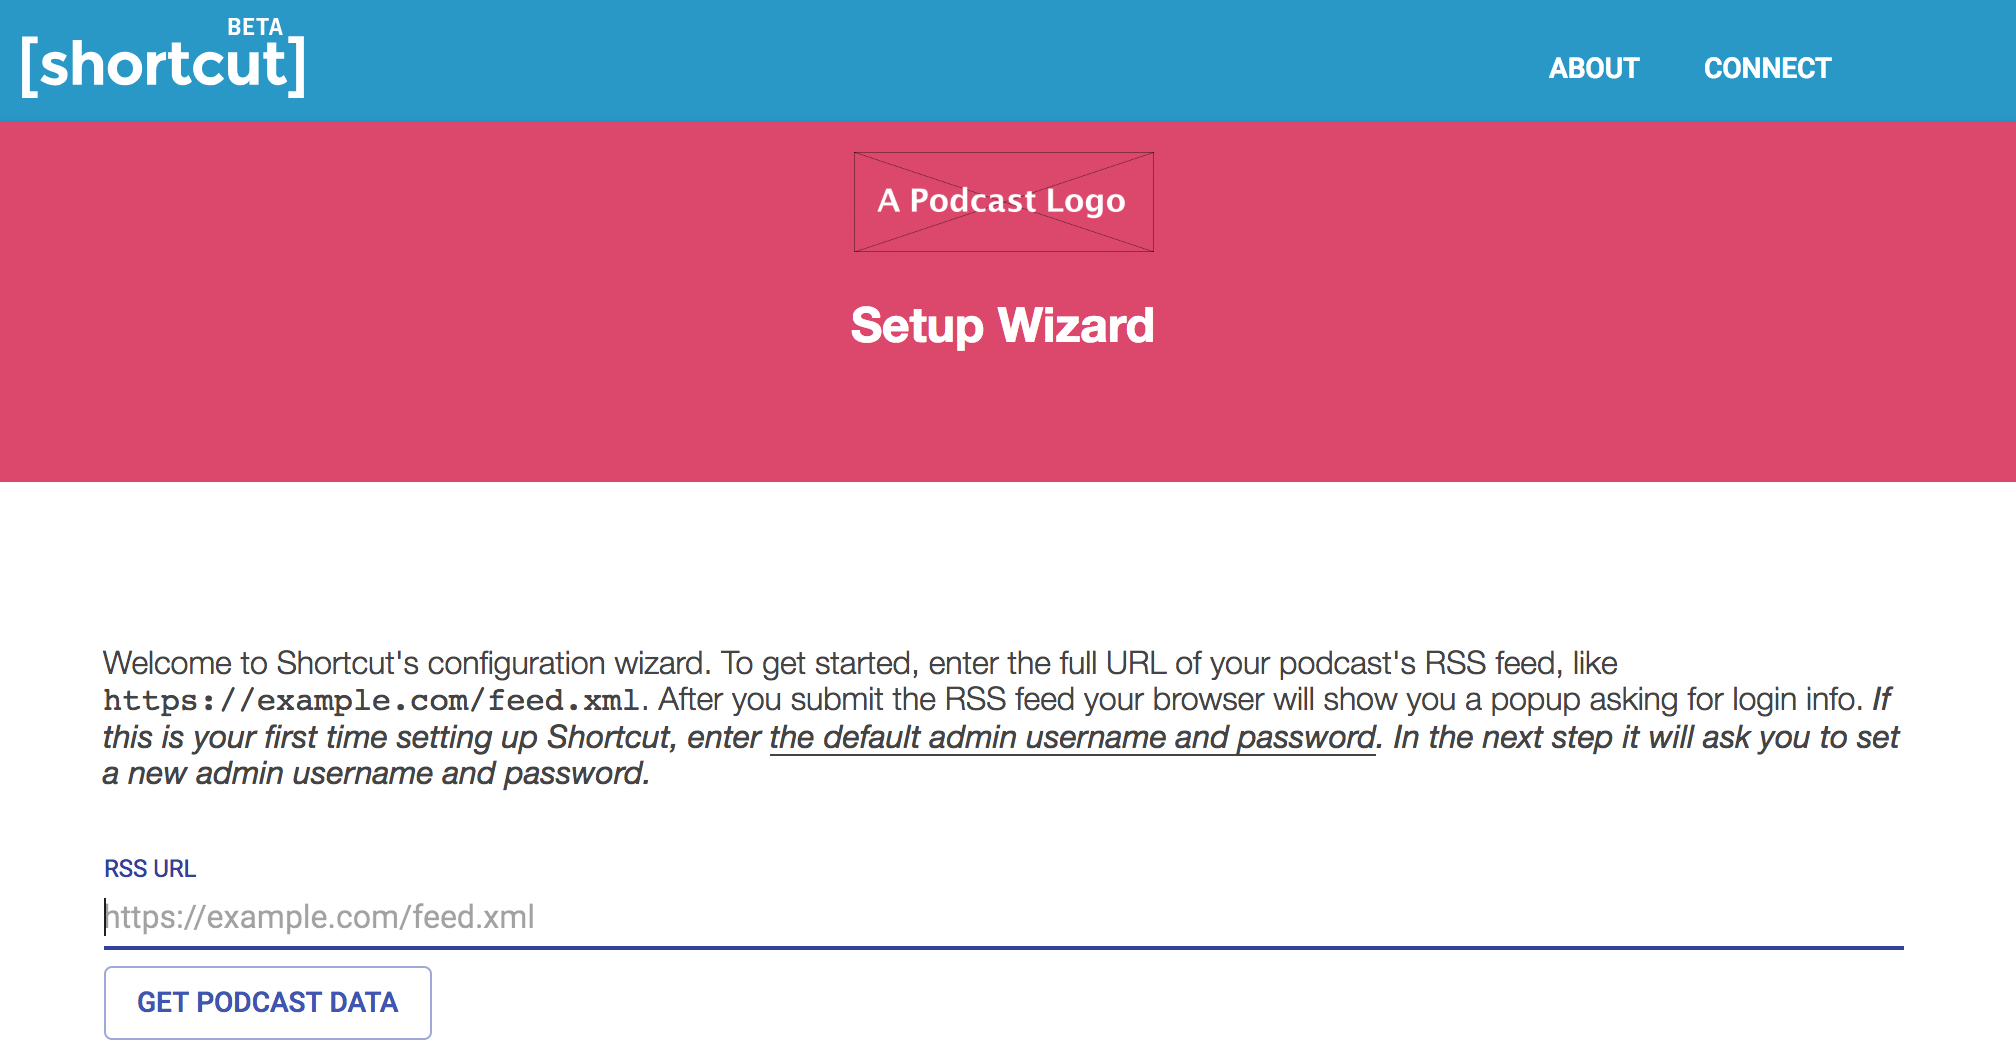
Enter the URL of the RSS feed that has every episode of your podcast. This can be hosted anywhere, including on a paid podcast hosting site like Libsyn. Click Get Podcast Data.
After a few seconds you should see a summary of your basic podcast information, like this:
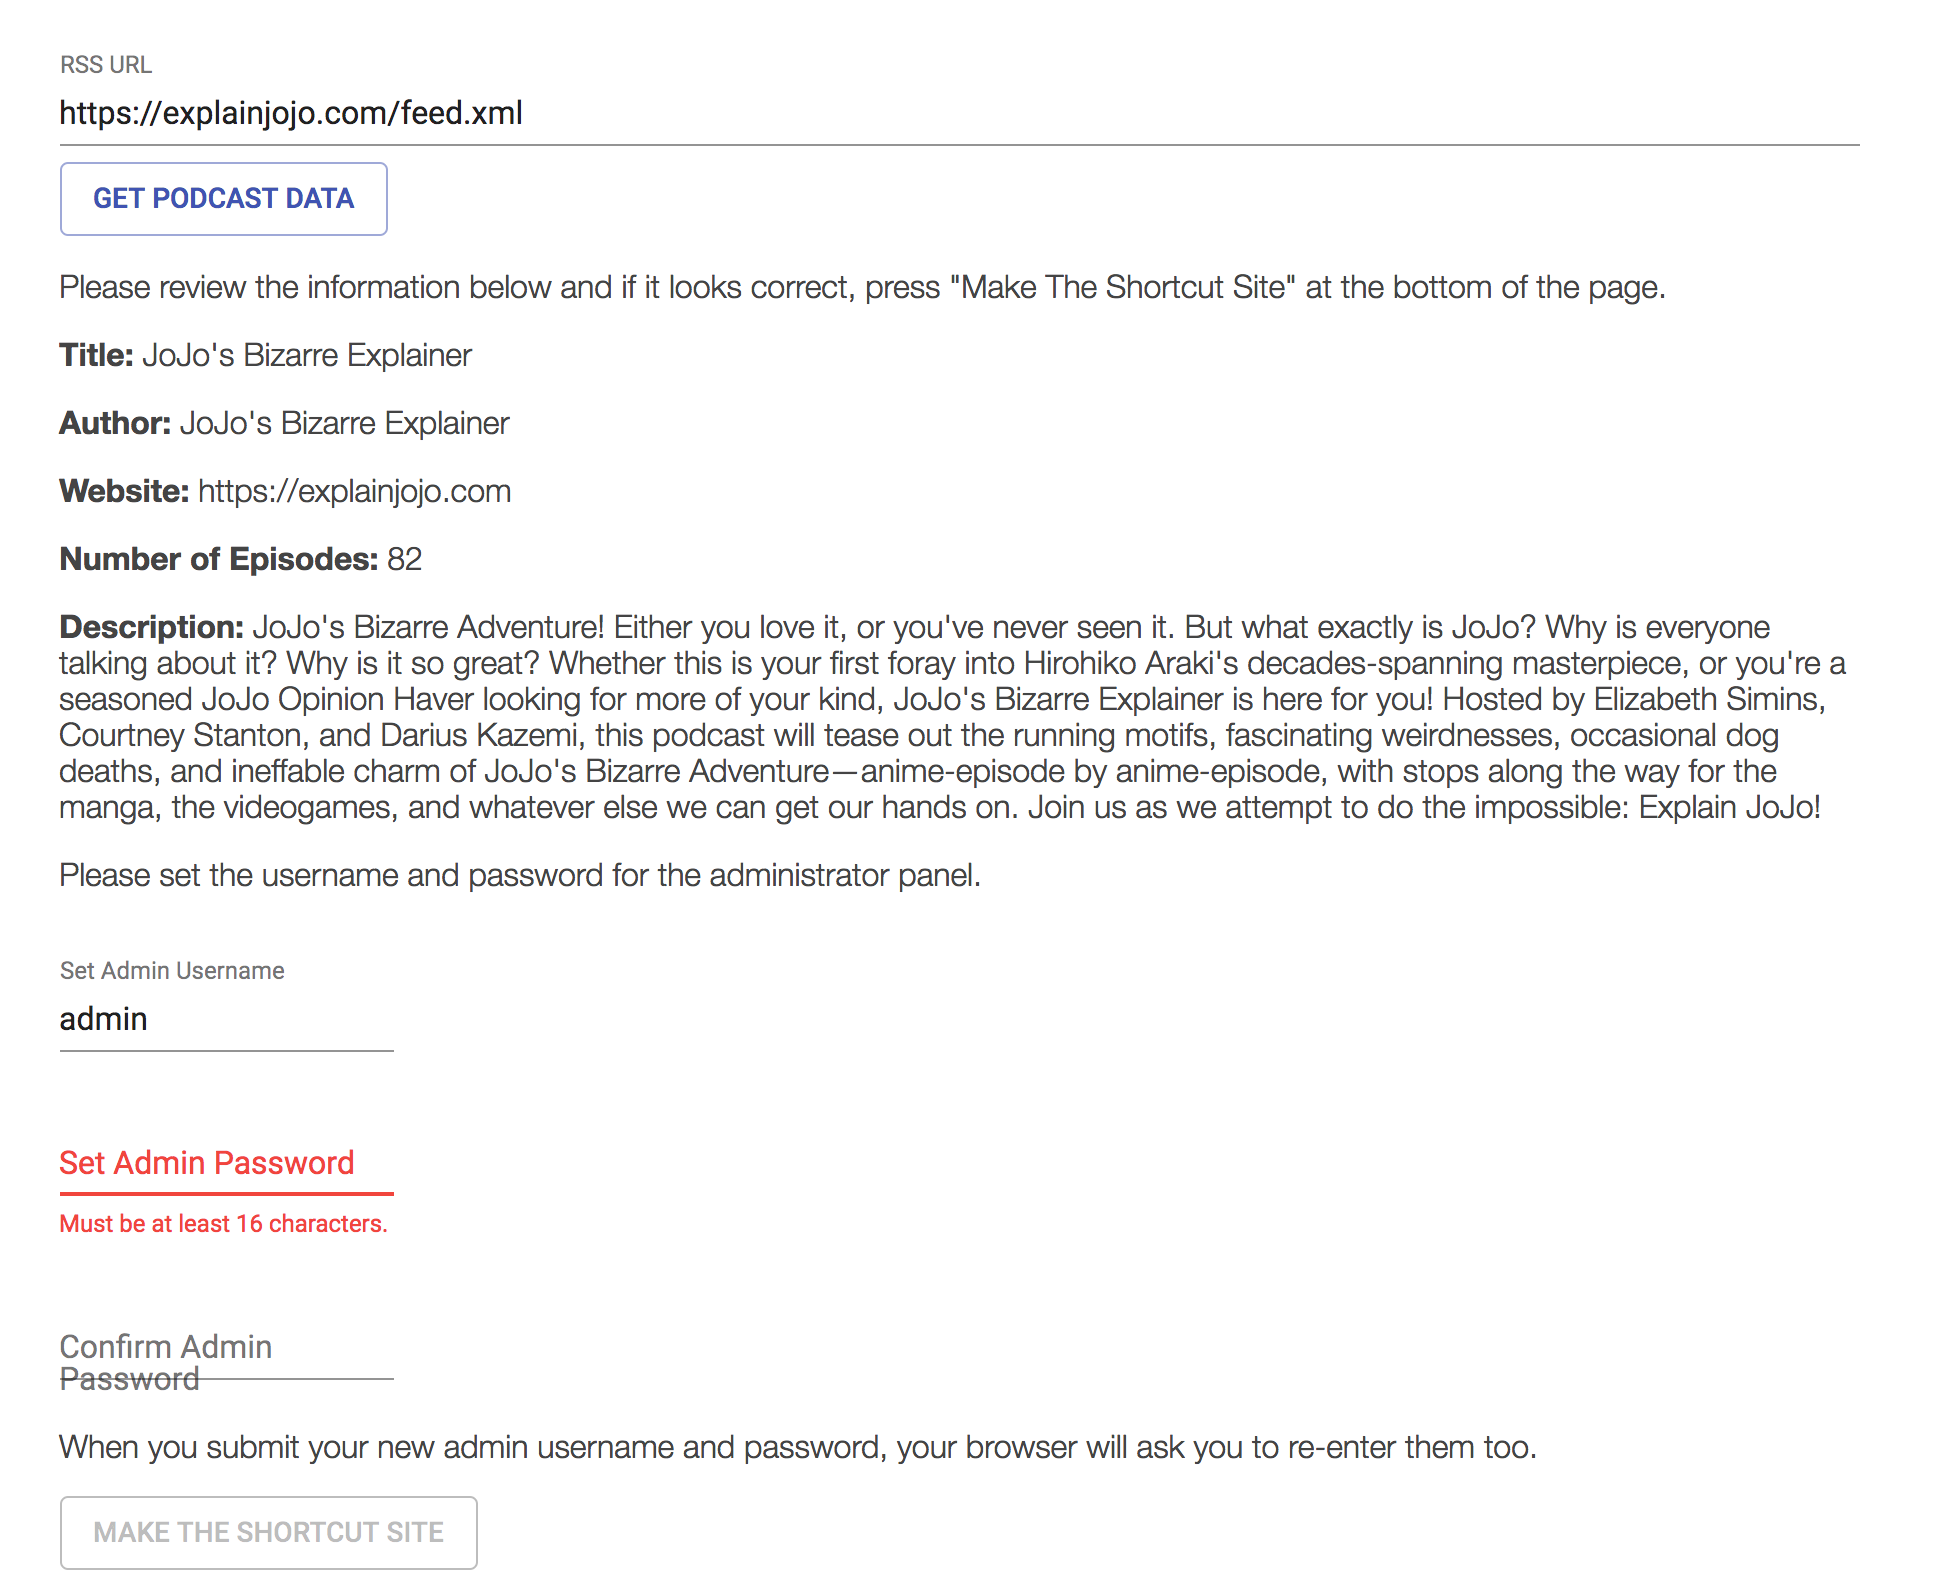
Next, set a username and password for the administration of Shortcut. Write these down somewhere, you don't want to lose them! The password has to be at least 16 characters long. Then click Make the Shortcut Site. Your browser will immediately ask for your new admin username and password, so put those in.
Now you'll be on the main admin page. BOOKMARK THIS PAGE because otherwise you are going to have to keep coming here to these documents to remember the URL, which is http://shortcut.mypodcastsite.com/#/admin. Anyway, this page should show you a screen that says "Configure Episodes" with a list of your podcast episodes, and below the episodes a section that says "Set Preferences". It'll look something like this:
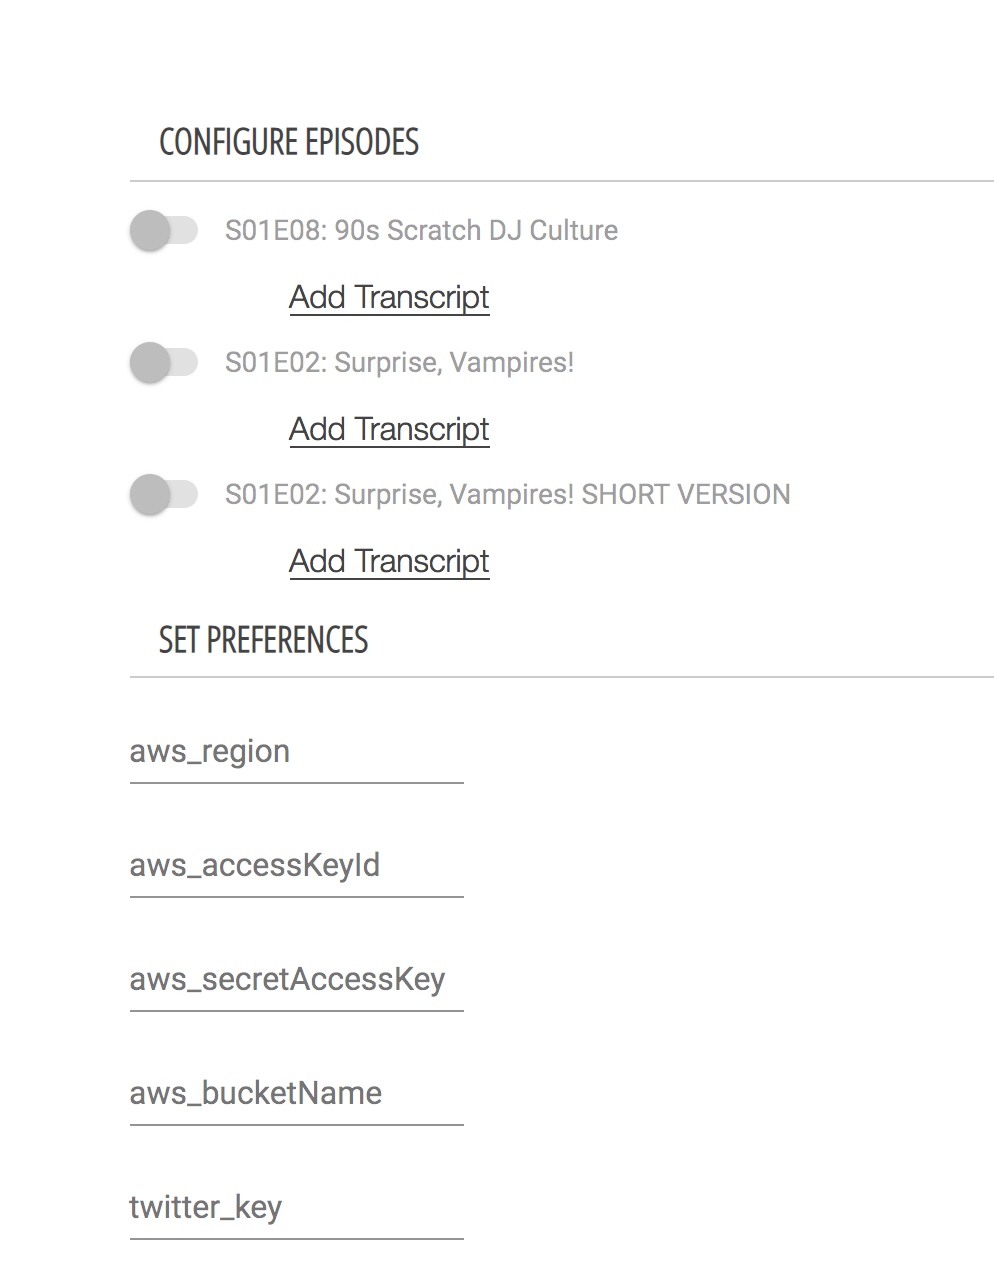
In the fields that say "aws_region", "aws_accessKeyId", "aws_secretAccessKey" and "aws_bucketName", enter all those pieces of information in. Skip the Twitter stuff (we'll get to that next). Hit Submit to save this info.
In order to enable direct sharing to Twitter, you'll need to register a Twitter application.
To register your application with Twitter, you'll need to have that application tied to a specific Twitter account. It might make sense to use the Twitter account of your podcast, or your personal Twitter account, or to create a new, one-off Twitter account. Note: you won't be posting things directly to this Twitter account. Twitter just needs you to be logged in as a user in order to register an app.
While logged in as the account you want tied to the app, go to this page:
https://apps.twitter.com/app/new
Once you're there, fill in the required fields: name, description, website. These are the fields that will show when a user eventually clicks through to grant your application permission to post on their behalf, so you'll want to make sure it's "customer-facing" like the name of your podcast and not testapp744 or whatever. Also you must set the callback URL to http://YOUR_SERVER:3000/auth/twitter/callback, replacing YOUR_SERVER with the details for your Shortcut server (going from what we set above, it would be shortcut.mypodcastsite.com, meaning the full info here would be http://shortcut.mypodcastsite.com:3000/auth/twitter/callback . Do the captcha and submit.
Next you'll see a screen with a "Details" tab. Click on "Keys and Access Tokens" and you'll see two long strings: your consumer key and consumer secret. Write these down. Then go back to http://shortcut.mypodcastsite.com/#/admin (your admin panel) and add those to the "twitter_key" and "twitter_secret" fields under "Set Preferences". Under "twitter_callback" put /auth/twitter/callback. It's always going to be this value, just put that in.
We used to support posting to Facebook but they disabled the ability to post things on behalf of a user and so we can't post video directly to Facebook anymore. More info here.
Finally! You can enable an episode for clipping and sharing in this step.
In the admin pane (again it's at http://shortcut.mypodcastsite.com/#/admin) you should see all your podcast episodes listed with "Add Transcript" underneath each episode name. Click "Add Transcript" for an episode that you have a transcript for. It will look like this:
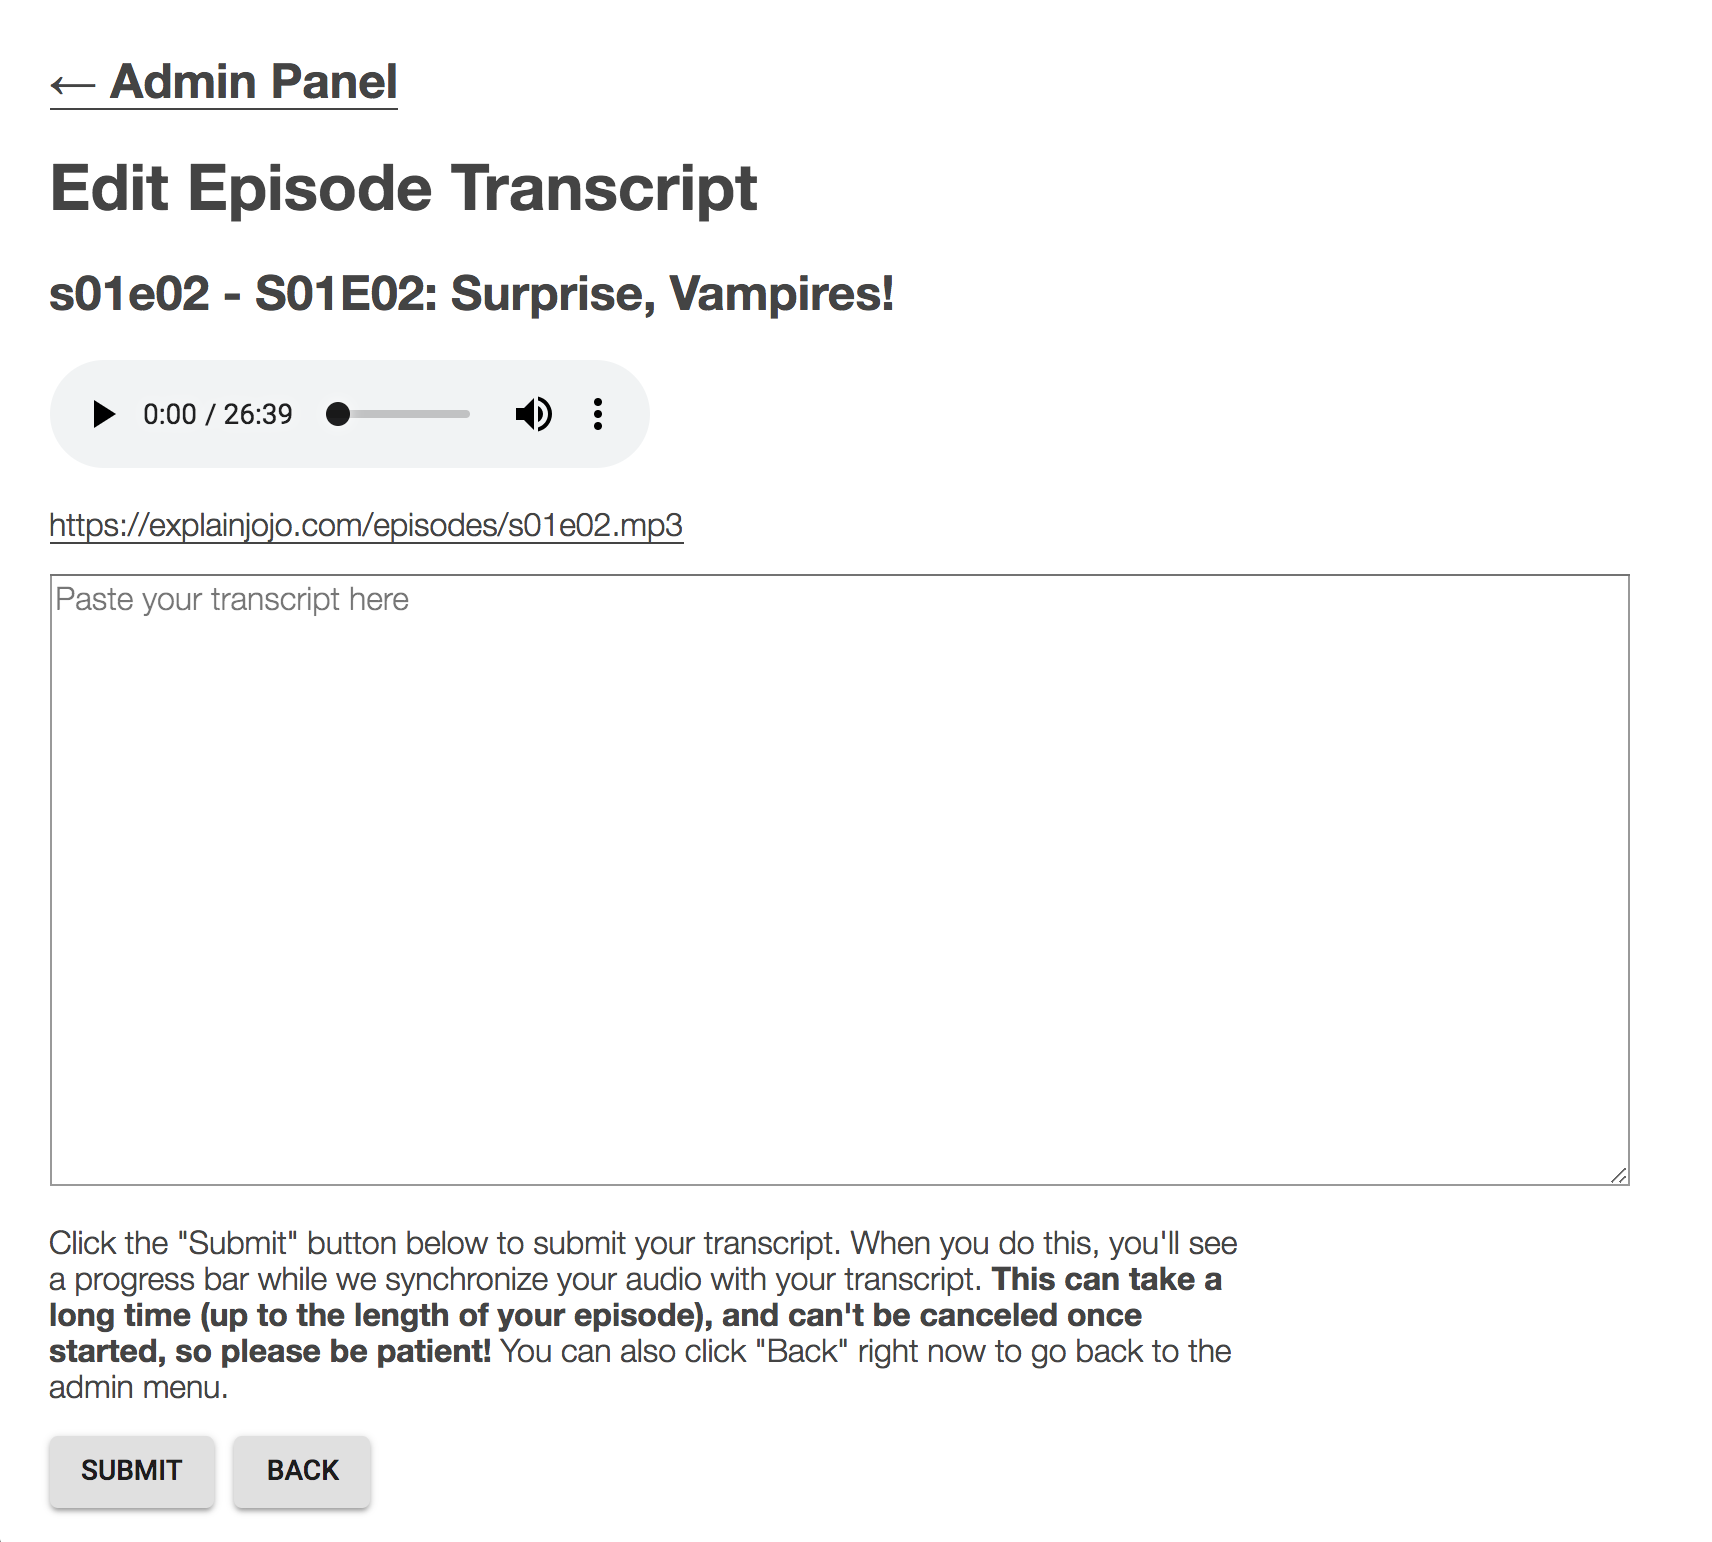
Paste your transcript text into the big text field and then hit Submit. __This kicks off the code that synchronizes the audio of the episode with your transcript. This can take a very very long time because it takes a lot of computational power to do something this magical. It'll pop up a series of screens:
- Loading mp3
- Transcription starting up...
- Transcription (part 1/2) in progress, XX% done
- Aligning (part 2/2) in progress, XX% done
And finally it'll say "Done syncing! Enable the episode immediately?"
Click YES and it'll send you back to the admin panel. Now go to http://shortcut.mypodcastsite.com in a new window and you should see your episode up there! (If you don't, try a hard reload of the page.)
And that's it, now the world can use Shortcut to share your podcast episodes!
If you run into problems with any of these steps, please email hello at feeltrain dot com or file an issue on this Github repo and we will do our best to help you.
To keep track of Shortcut and what's on the docket, check out our Milestones page. To ask for support, check out our Gitter chat.
By participating in our community you agree to abide by the Shortcut Code of Conduct.
Customization
Contributor Guidelines
Nitty-Gritty