Louis Bennette - Goldsmiths University
For this project I decided to build a factorio inspired 3d factory demo. The project is build using the unreal engine. The factory consists is built on the principle of conveyor belts, and robot arms that pick up and move items into factories or onto other belts.
The project uses both physics and animation to move items through the factory process. The physics was coded using unreal c++ classes, This gave me more exact control over the calculations to try to minimise the process time. The animations were done using unreal blueprints.
In this report I will refer to factory blocks / machines that have a purpose as factory pieces, the term conveyor does not refer to a belt piece but to the collision box above all pieces which move objects in a direction. One factory peice can have many conveyors. The factory is built on a grid pattern although the components are not dependent on any grid based rules to operate. Finally the items are the object moved and manipulated by the factory pieces and conveyors.
Conveyor belt component:
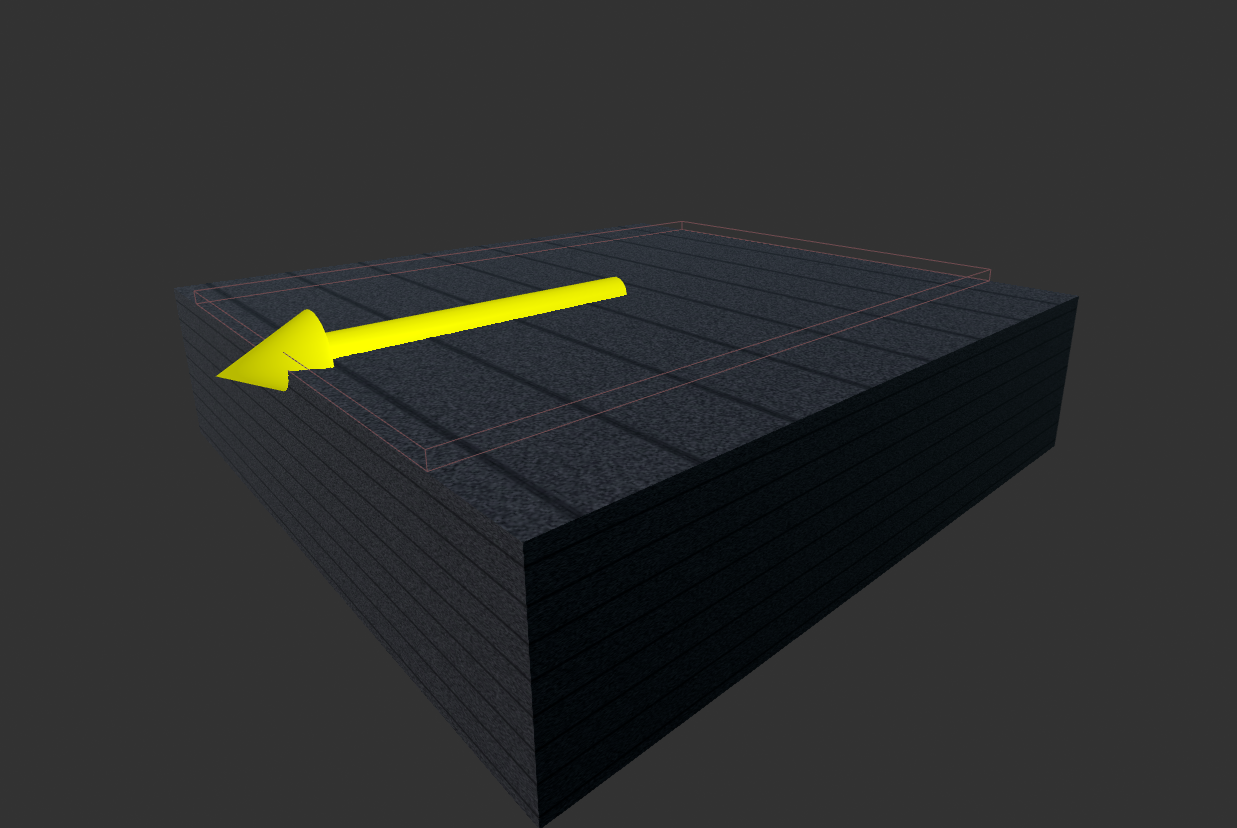
Conveyors were the first block to be built. Conveyors have a forward vector component and a target speed which is assumed in the direction of the forward vector. When a belt is added to the world it’s conveyors are added to an array which can be accessed by the items when the applied force is calculated. The belts use a material with a panning texture to give the illusion of movement.
When an item is above a conveyer an acceleration is added to the item so that it will reach that target speed. The factory belt piece has one conveyor and the conveyor will move all items colliding with it towards the exit. In order for the conveyor to move the factory items along it the surface of the belt needs to have a very low friction, the items are sliding above the belts as they are pushed by the force applied by the conveyors. This causes other complications, as torque is induced by collisions with other items and by turning in corners. Due to the low friction of the belt the item can spin freely without any friction to slow down the spin. This is something to look into further. Specifically, a check that the item is located one a single conveyor to remove any rotational force might help solve this.
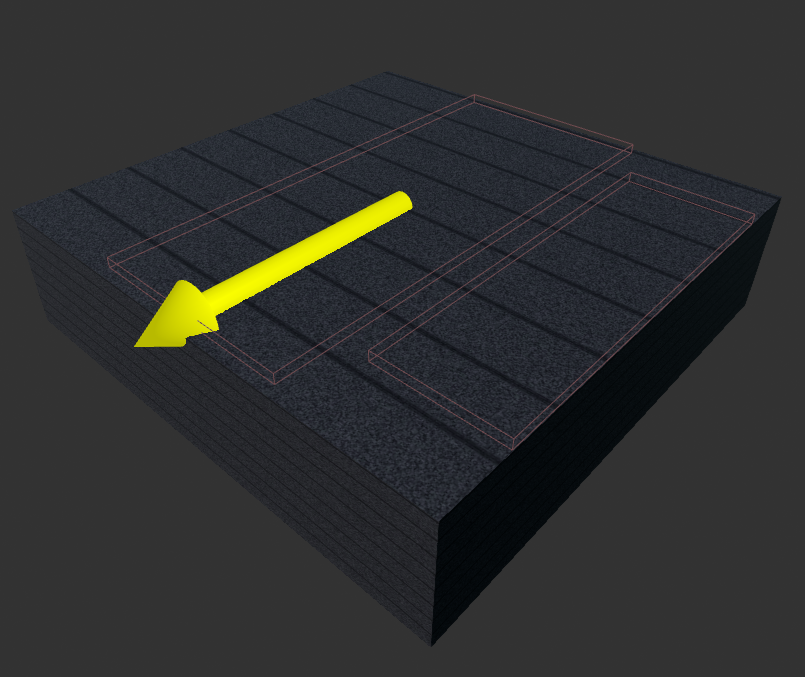
Some more complex factory components may have more than one conveyer belt per piece. The corner pieces for example are composed of two conveyors one which feed the items near the middle of the piece and one which points to the exit direction of the corner piece. When an item is colliding with more than one conveyor the forward vectors are added together and normalised. The resulting vector is multiplied by the fastest belts speed.
Spliter:
Using the conveyer’s I also created a splitter, this machine splits incoming items into two separate belt lanes. This is done using a pusher arm which collides with the items when an incoming item is detected.
Inserter (robot arm):
The inserter picks items off the belt and places them on an opposite belt. The animation is done using the unreal timeline component. The inserter uses 4 separate float variables to change the angles of the joints. When an object overlaps the area underneath the inverter hand / magnet, the item’s transform is attached to the hand and physics on that item is disabled. Then the inserter animation is activated. When the other side is reached the item’s physics is reactivated, the item drops and the animation continues back to it’s start position this time without the item.
Inserters have the option to filter a single item and ignore all others. This is done by setting the filter item for an instance of the inserter in the unreal editor. This mean a single belt can be used for multiple types of items and the inserters can pick off only the items they need to.
Factory & Crafter:
The factory and crafter pieces take in items and transform it into a new item. The crafter has two inputs with one output and the factory has one input and one output. The animations for both are done the same way as the animation of the inserter (See blueprint). Additionally both these pieces use conveyors to move the item inside. The pieces are covered to hide what’s happening inside. When an item enters and reaches a collection point the item is despawned. When loaded the animation is triggered which controls lights, particle systems and moves components. The animation also triggers an event which spawns in the output item to complete the assembly process.
The crafter expect two inputs so the assembly animation can only be triggered when both inputs are loaded. This is indicated to the user by having coloured lights, green and red. The crafter is also designed to communicate directly with an inserter. When a side has been loaded the colour goes red and any attached inserter is also told not to pick anything up.
This creates a co dependency with the inserters. If the crafter somehow has an overloaded input the additional items are passed through the system and ignored. This mean an output can be infected with un-crafted items and would require additional filtering from the player.
Items:
Factory items are movable reagents used and transformed in the factory process. The factory item is mostly just a mesh component with physics and collisions enabled. All the factory items extend from the Item class which is responsible for applying the force of a conveyor onto the factory item itself. By calculating the force in the item class rather than the belt class we can create many belts without the need to check if an item is above each individual belt. This is done in C++ to minimise calculation time. The item takes note of all conveyors it’s overlapping with. Adds all the forward vectors and normalises them to obtain a compounded direction. The speed is determined by the fastest conveyor.
others.Reset();
meshShape->GetOverlappingActors(others);
for (AActor* other : others) {
  ABelt* belt = Cast<ABelt>(other);
  if (belt) {
    otherComponents.Reset();
    meshShape->GetOverlappingComponents(otherComponents);
    for (UPrimitiveComponent* otherComponent : otherComponents) {
	  // Get the conveyors array, these are set in factory piece
	  // blueprints on Event Begin play.
      for (UShapeComponent* conveyer : belt->conveyers) {
        if (otherComponent == conveyer) {
          if (meshShape->GetComponentVelocity().Size() < belt->beltSpeed || meshShape->GetComponentVelocity() != conveyer->GetForwardVector()) {
            beltInfluence = true;
		    // Make speed a little faster than the conveyor speed to avoid
		    // recalculating the acceleration every frame.
            speed = belt->beltSpeed + belt->beltSpeed*0.1f;
            direction += conveyer->GetForwardVector();
            break;
          }
        }
      }
    }
  }
}
// Set’s force on the item if the item is on a conveyor.
if(beltInfluence){
  direction = direction.GetSafeNormal();
  // newtonian equation V = U + at  =>   a = (V-U)/t
  FVector acc = (direction*speed - meshShape->GetComponentVelocity()) / DeltaTime;
  meshShape->AddForce(acc, NAME_None, true);
}


