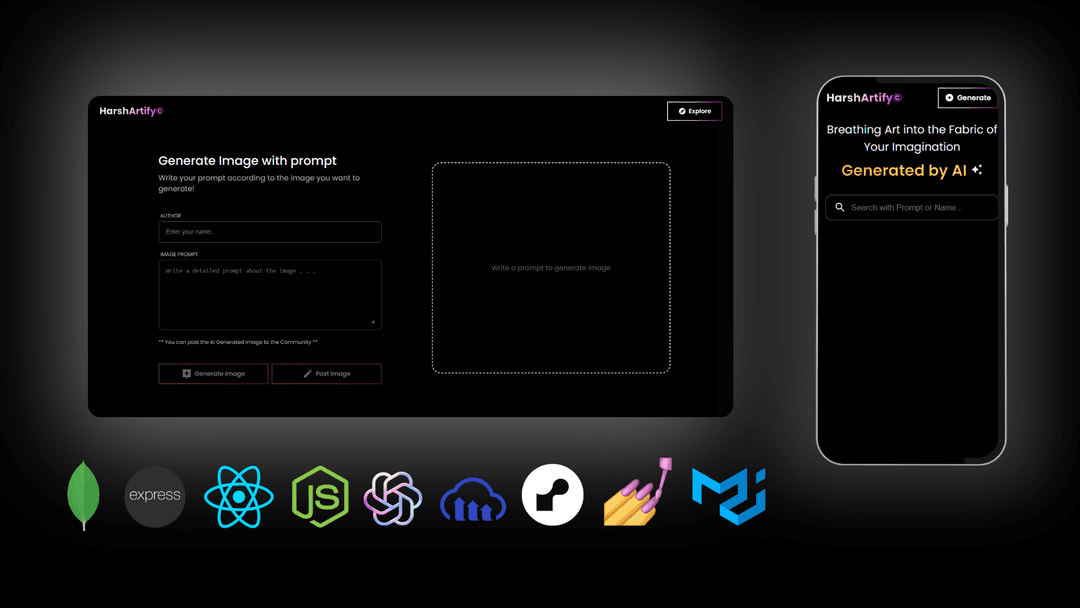
Harshartify is an AI-powered image generation web application designed to bring your creative visions to life. Using OpenAI's advanced models for image generation and Cloudinary for efficient storage, this app combines React, Express, Node.js, and MongoDB for a seamless and scalable solution.
Please be aware that the live demo does not generate or store images due to API balance limitations. The application requires sufficient balance for OpenAI and other APIs to function fully. The demo may not show live image generation or storage.
MongoDB (cluster) API, Cloudinary API, OpenAI API, and Render server API must be created and added to the .env file located in the server folder before hosting.
Check out the live demo of Harshartify: Harshartify Demo
- AI Image Generation: Create stunning images from text prompts using OpenAI's API. 🎨
- Image Storage: Store and manage images securely and efficiently with Cloudinary. ☁️
- Full-Stack Architecture: Frontend with React, backend with Express and Node.js, and data storage with MongoDB. 🔄
- Deployment: Smooth and reliable performance with Render (backend) and Netlify (frontend). 🚀
- Frontend: React
- Backend: Express, Node.js
- Database: MongoDB
- Image Generation: OpenAI API
- Image Storage: Cloudinary
- Hosting: Render (backend), Netlify (frontend)
-
Clone the repository:
git clone https://github.com/your-username/harshartify.git
-
Navigate to the project directory:
cd harshartify -
Install dependencies for both the frontend and backend:
-
For the frontend:
cd client npm install -
For the backend:
cd ../server
npm install
-
-
Set up environment variables for OpenAI and Cloudinary in
.envfiles. -
Start the application:
-
For the backend:
cd server npm start -
In a separate terminal, run:
cd client
npm start
-
If you have any questions, feedback, or collaboration inquiries, feel free to reach out Harsha G
Feel free to contribute by opening issues or submitting pull requests. Your contributions and feedback are welcome! 📝
This project is licensed under the MIT License
