⚠ Open Issue : Webtrees issue🐛 [Addon name] title (opened 2024-02-16) by @Hubby972
Thanks to everyone having starred my repo! To star it click on the image below, then it will be on top right. Thanks!
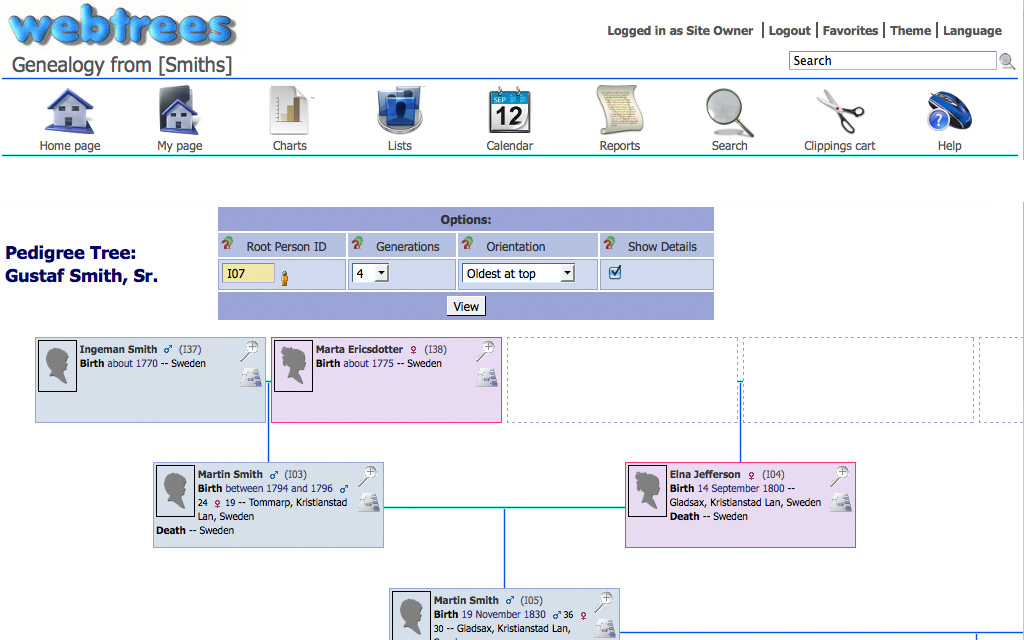
webtrees is the web's leading online collaborative genealogy application.
This addon is based on the docker image https://github.com/NathanVaughn/webtrees-docker
Webui can be found at http://homeassistant:PORT.
The name and password are defined through the startup wizard.
Options can be configured through two ways :
- Addon options
LANG: "en-US" # Default language for webtrees
BASE_URL: "http://192.168.178.69" # The url with which you access webtrees
DB_TYPE: "sqlite" # Your database type : sqlite for automatic configuration, or external for manual config
CONFIG_LOCATION: location of the config.yaml (see below)
localdisks: sda1 #put the hardware name of your drive to mount separated by commas, or its label. ex. sda1, sdb1, MYNAS...
networkdisks: "//SERVER/SHARE" # optional, list of smb servers to mount, separated by commas
cifsusername: "username" # optional, smb username, same for all smb shares
cifspassword: "password" # optional, smb password
trusted_headers: single address, or a range of addresses in CIDR format
base_url_portless: base url without port- Config.yaml
Custom env variables can be added to the config.yaml file referenced in the addon options. Full env variables can be found here : https://github.com/linuxserver/docker-paperless-ng. It must be entered in a valid yaml format, that is verified at launch of the addon.
The installation of this add-on is pretty straightforward and not different in comparison to installing any other add-on.
- Add my add-ons repository to your home assistant instance (in supervisor addons store at top right, or click button below if you have configured my HA)
- Install this add-on.
- Click the
Savebutton to store your configuration. - Set the add-on options to your preferences
- Start the add-on.
- Check the logs of the add-on to see if everything went well.
- Open the webUI and adapt the software options
Create an issue on github


