简体中文 | English
- GitHub Actions 管理自动同步跑步进程及自动生成新的页面
- Gatsby 生成的静态网页,速度快
- 支持 Vercel(推荐) 自动部署
- React Hooks
- Mapbox 进行地图展示
- Nike 及 Runtastic(Adidas Run)自动备份 gpx 数据,方便备份及上传到其它软件
- Strava
- Nike Run Club
- Runtastic(Adidas Run)
git clone https://github.com/yihong0618/running_page.git
```
pip3 install -r requirements.txt
yarn install
yarn develop
```
访问 http://localhost:8000/ 查看
删除项目中的测试数据,在根目录下执行
rm scripts/data.db GPX_OUT/* activities/*或者
rm scripts/data.db
rm GPX_OUT/*
rm activities/*python3(python) scripts/runtastic_sync.py ${your email} ${your password}示例:
python3(python) scripts/runtastic_sync.py example@gmail.com example获取 Nike 的 refresh_token
-
登录 Nike 官网
-
In Developer -> Application-> Storage -> https:unite.nike.com 中找到 refresh_token
-
在项目根目录下执行:
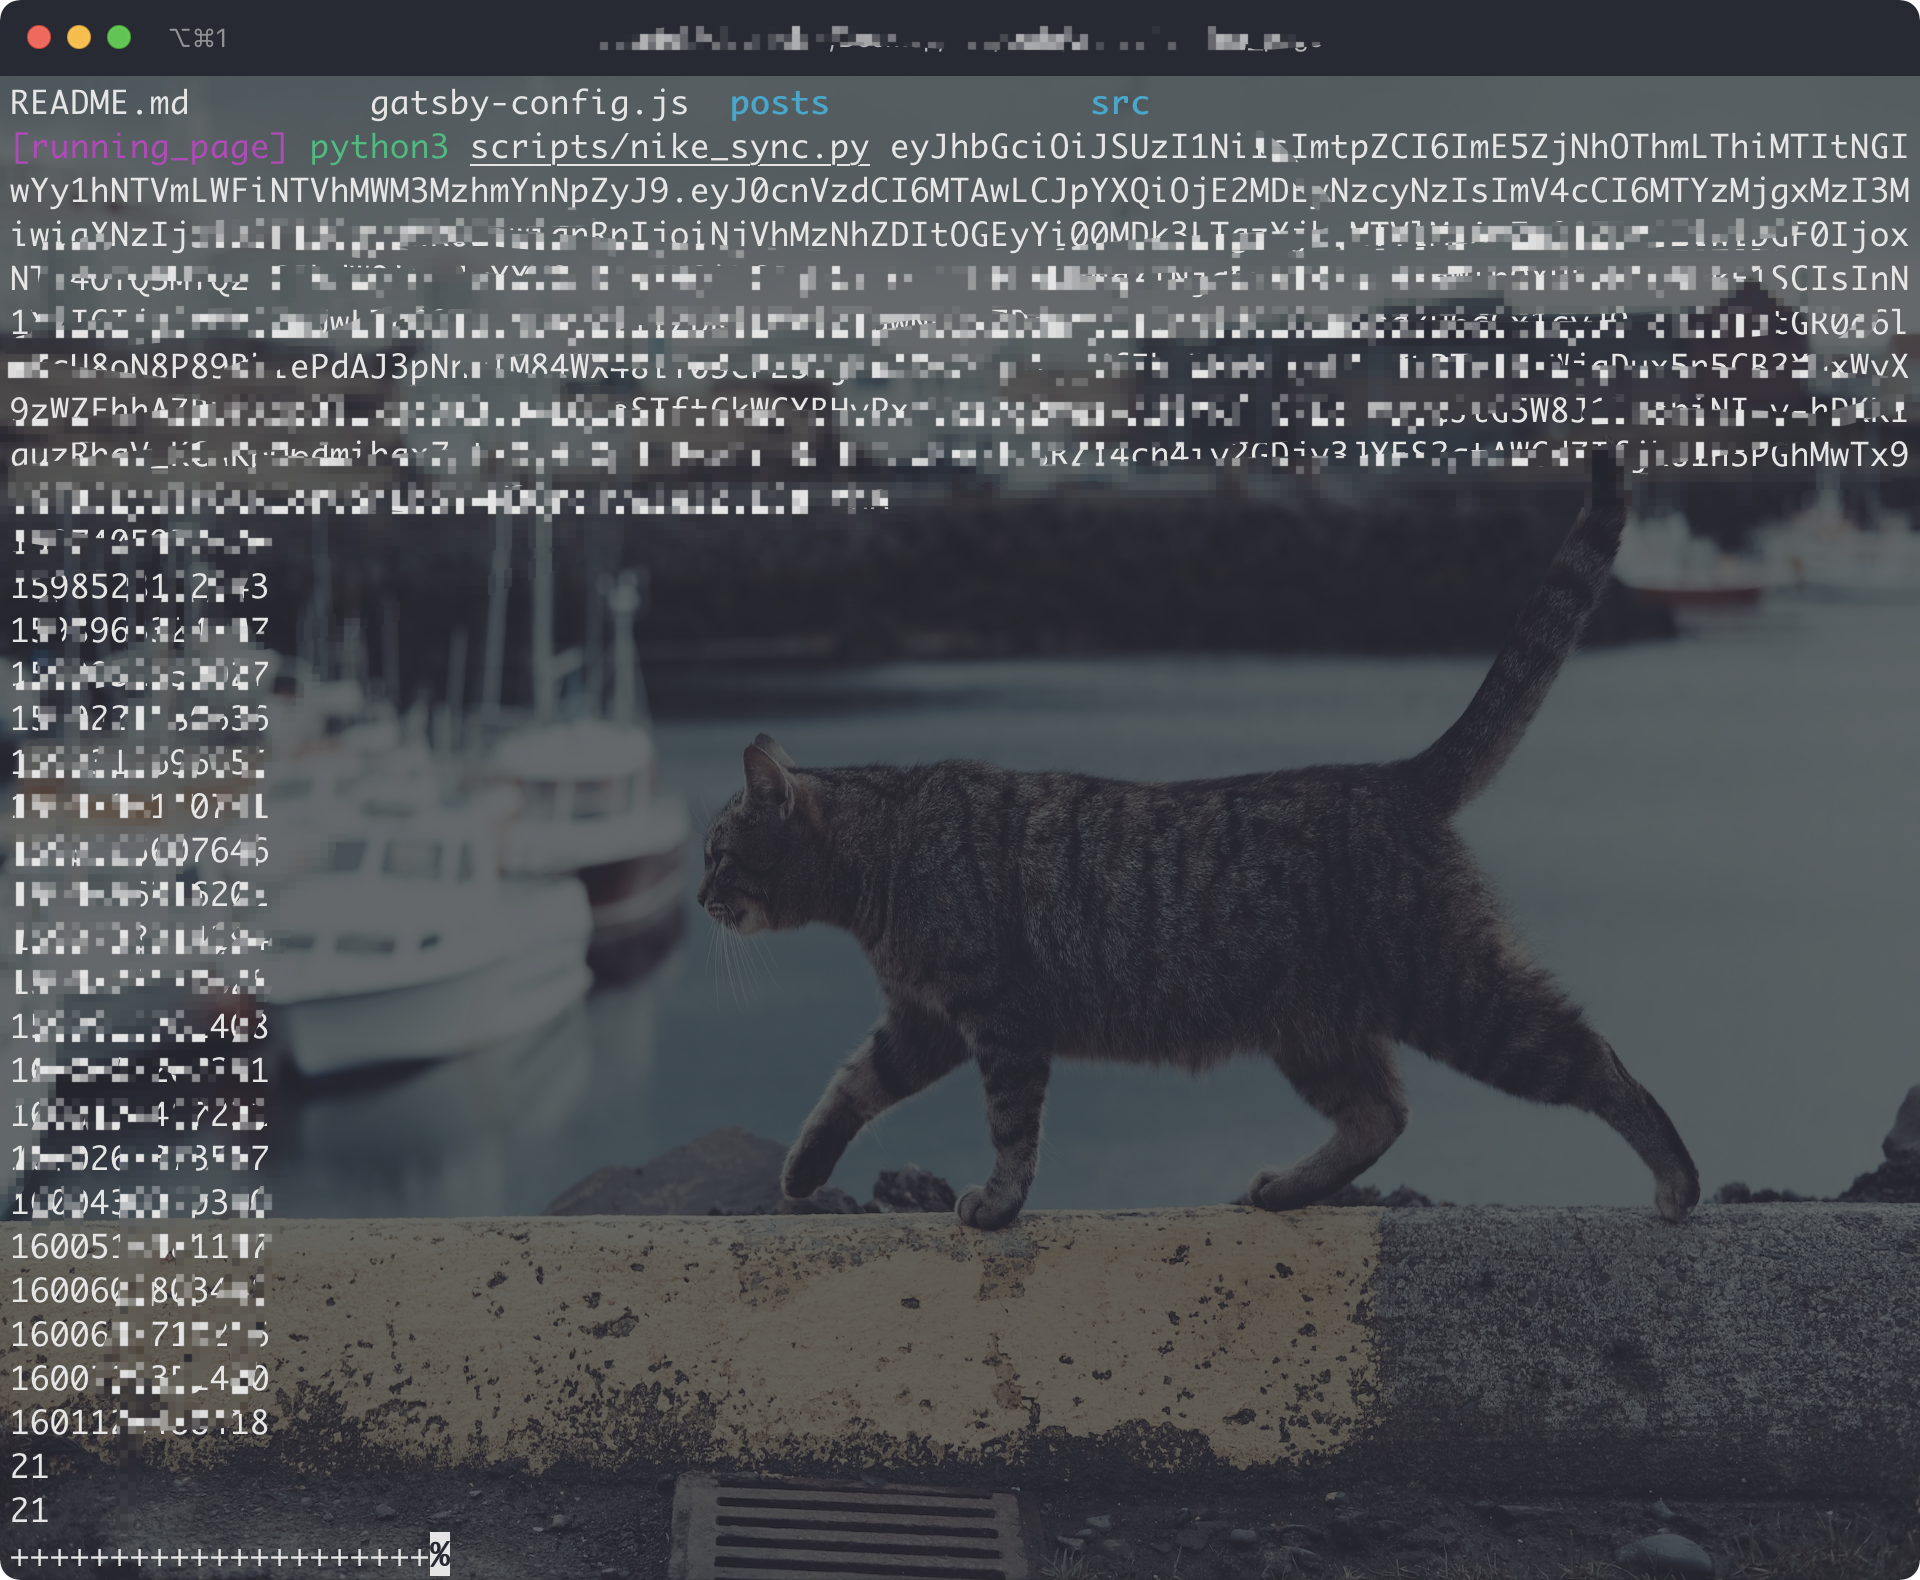
python3(python) scripts/nike_sync.py ${nike refresh_token}
示例:
python3(python) scripts/nike_sync.py eyJhbGciThiMTItNGIw******
-
生成数据展示 SVG
-
python scripts/gen_svg.py --from-db --title "${{ env.TITLE }}" --type github --athlete "${{ env.ATHLETE }}" --special-distance 10 --special-distance2 20 --special-color yellow --special-color2 red --output assets/github.svg --use-localtime --min-distance 0.5python scripts/gen_svg.py --from-db --title "${{ env.TITLE_GRID }}" --type grid --athlete "${{ env.ATHLETE }}" --output assets/grid.svg --min-distance 10.0 --special-color yellow --special-color2 red --special-distance 20 --special-distance2 40 --use-localtime更多展示效果参见:
https://github.com/flopp/GpxTrackPoster
-
注册/登陆 Strava 账号
-
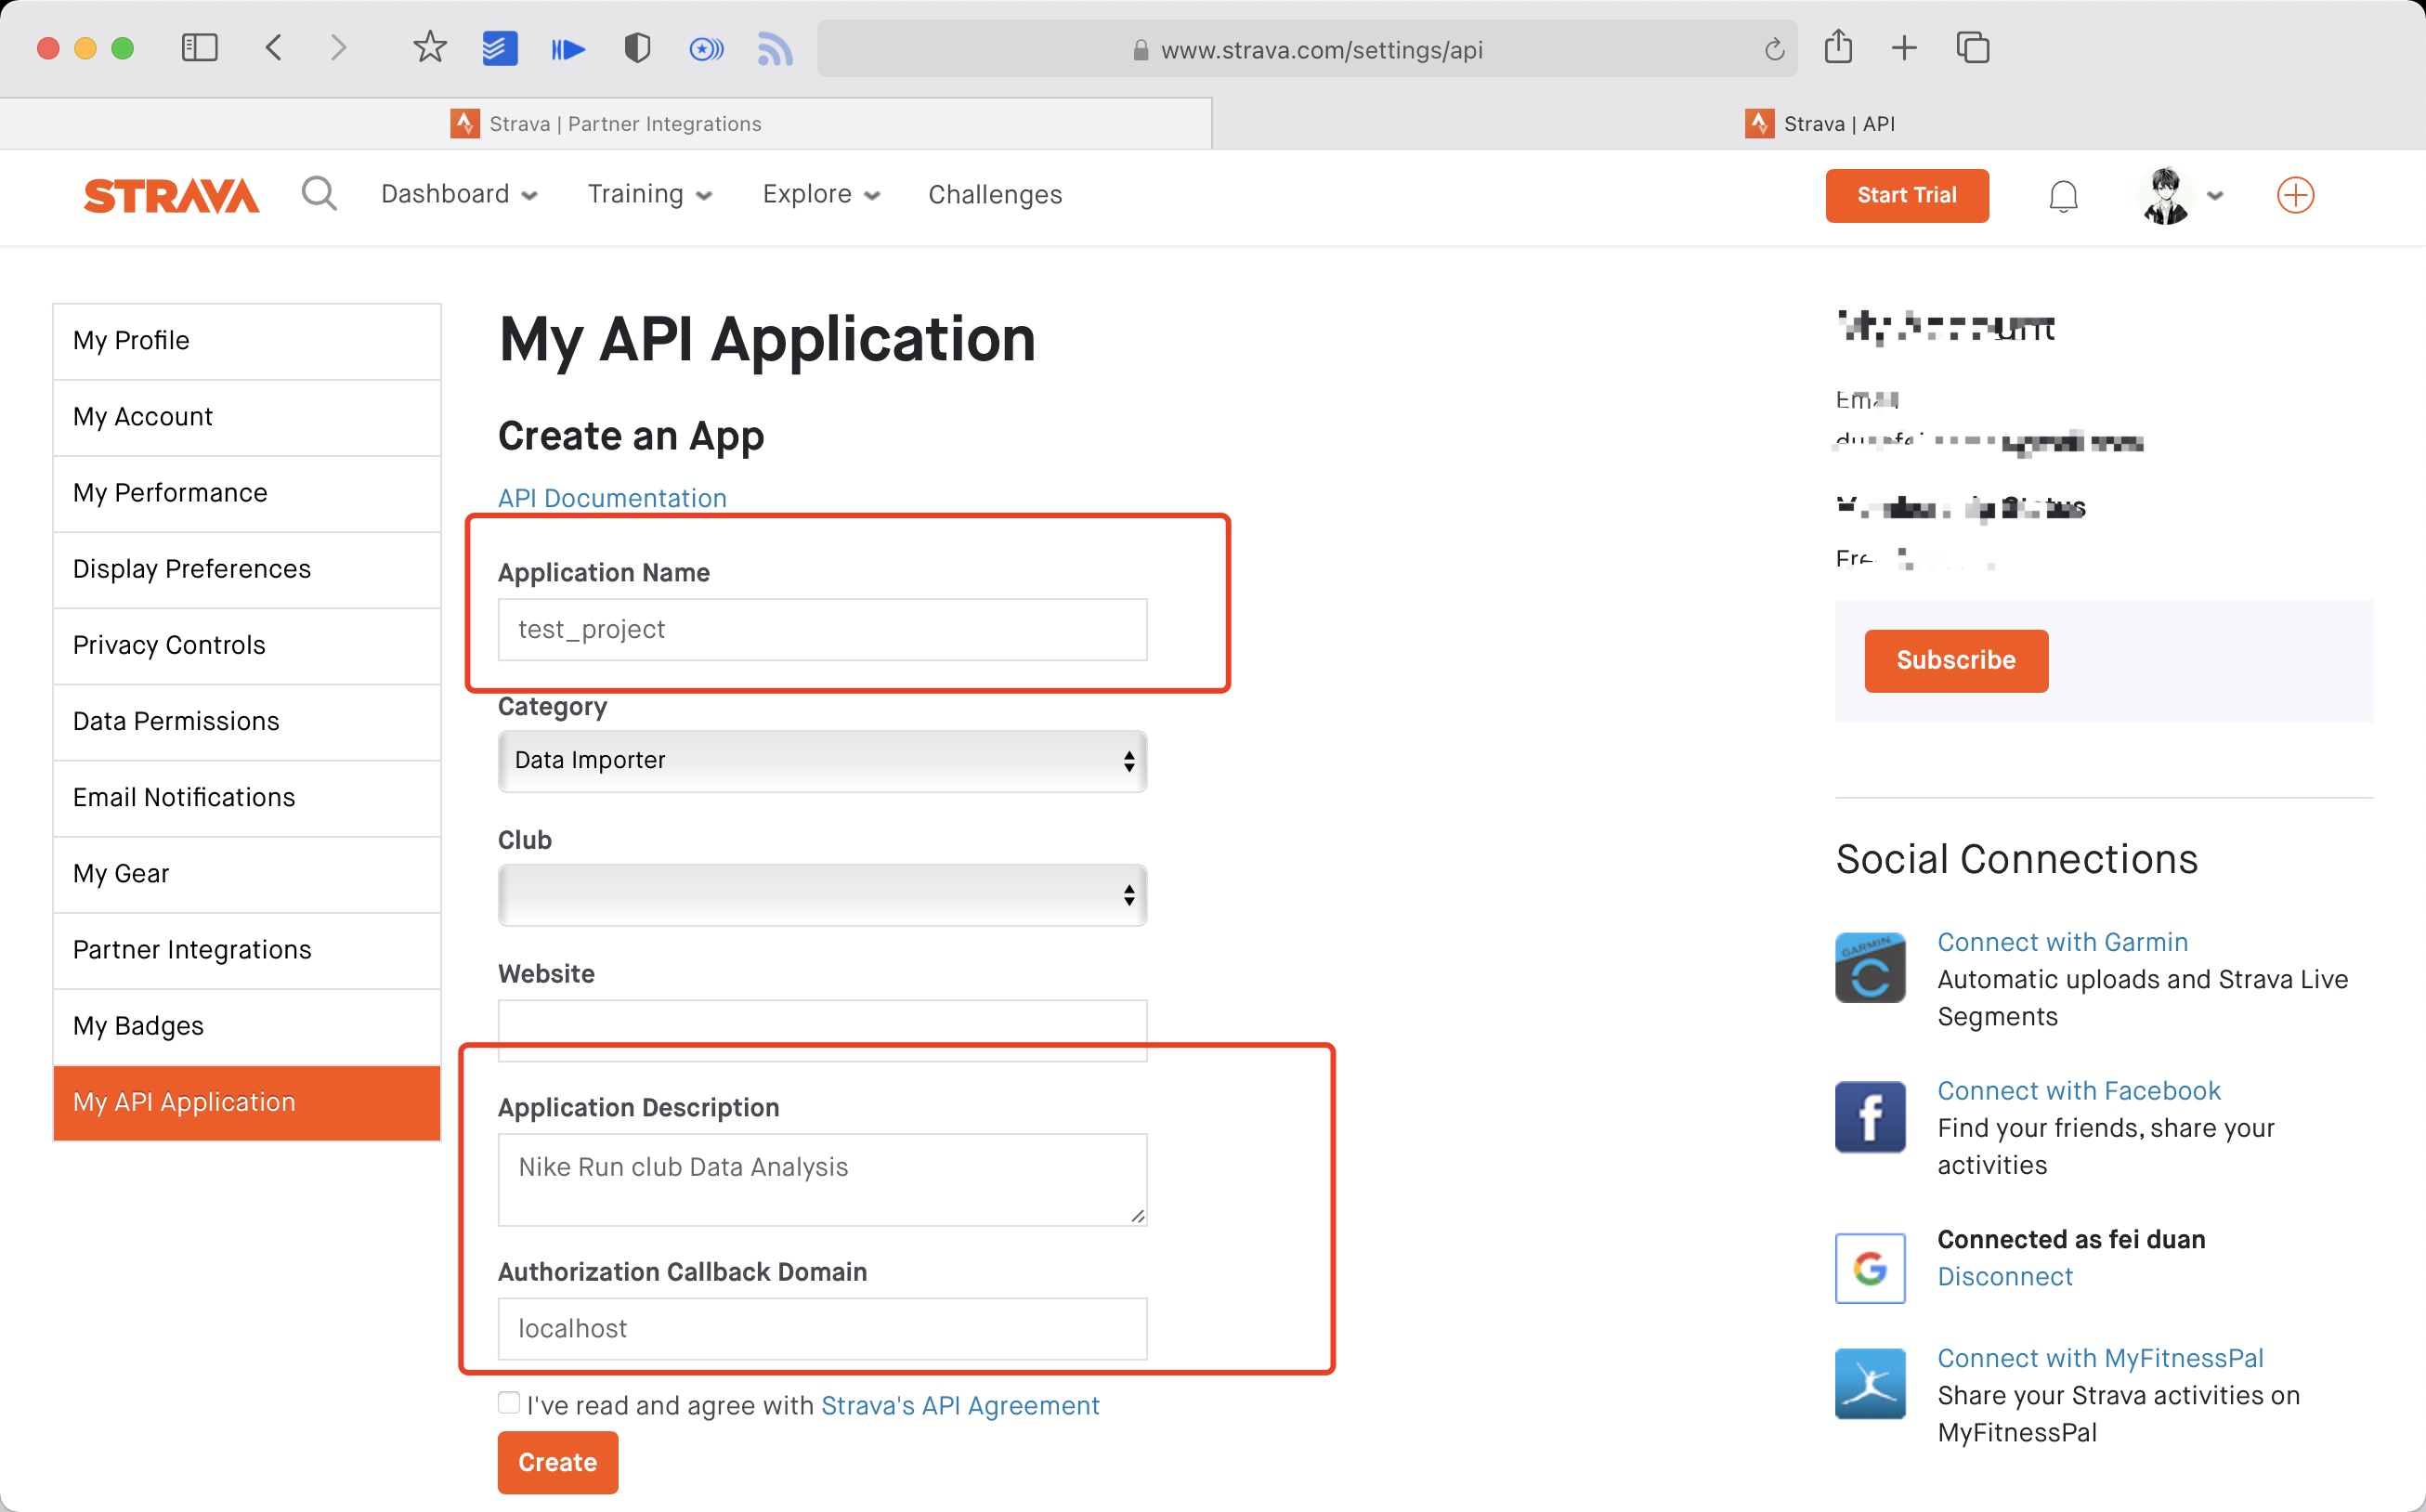
登陆成功后打开 Strava Developers -> Create & Manage Your App
-
使用以下链接请求所有权限
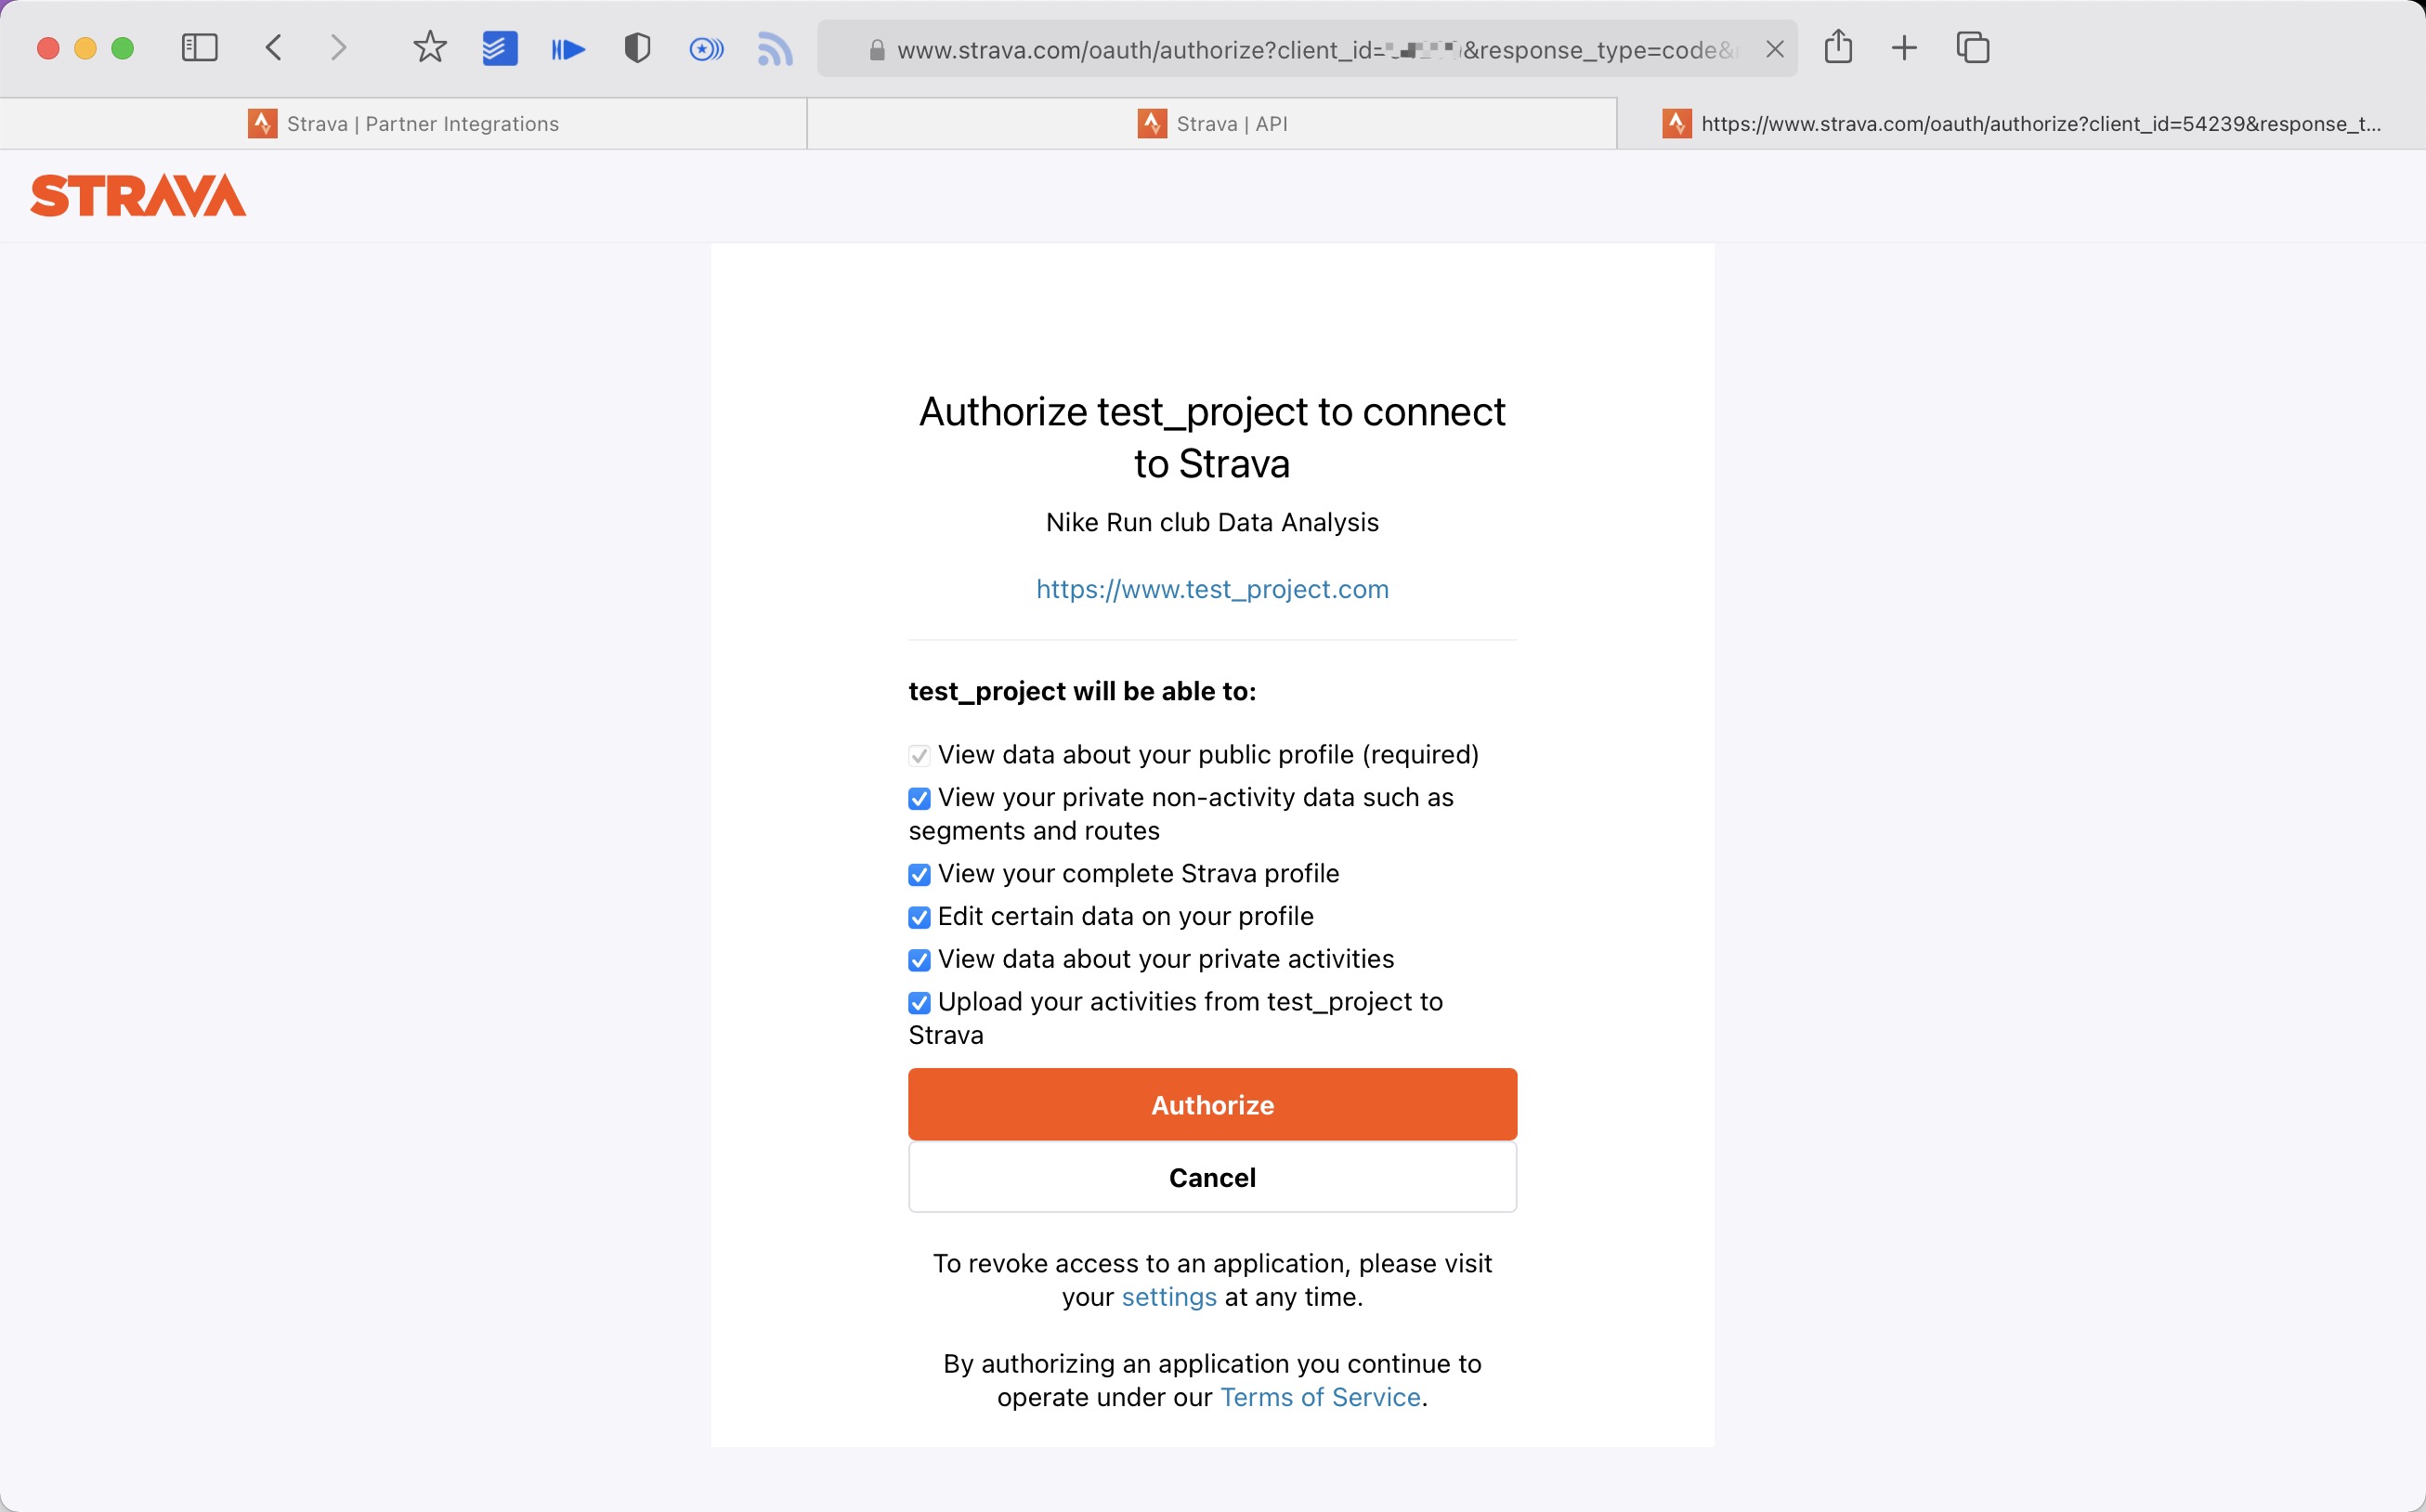
将 ${your_id} 替换为 My API Application 中的 Client ID 后访问完整链接https://www.strava.com/oauth/authorize?client_id=${your_id}&response_type=code&redirect_uri=http://localhost/exchange_token&approval_prompt=force&scope=read_all,profile:read_all,activity:read_all,profile:write,activity:write -
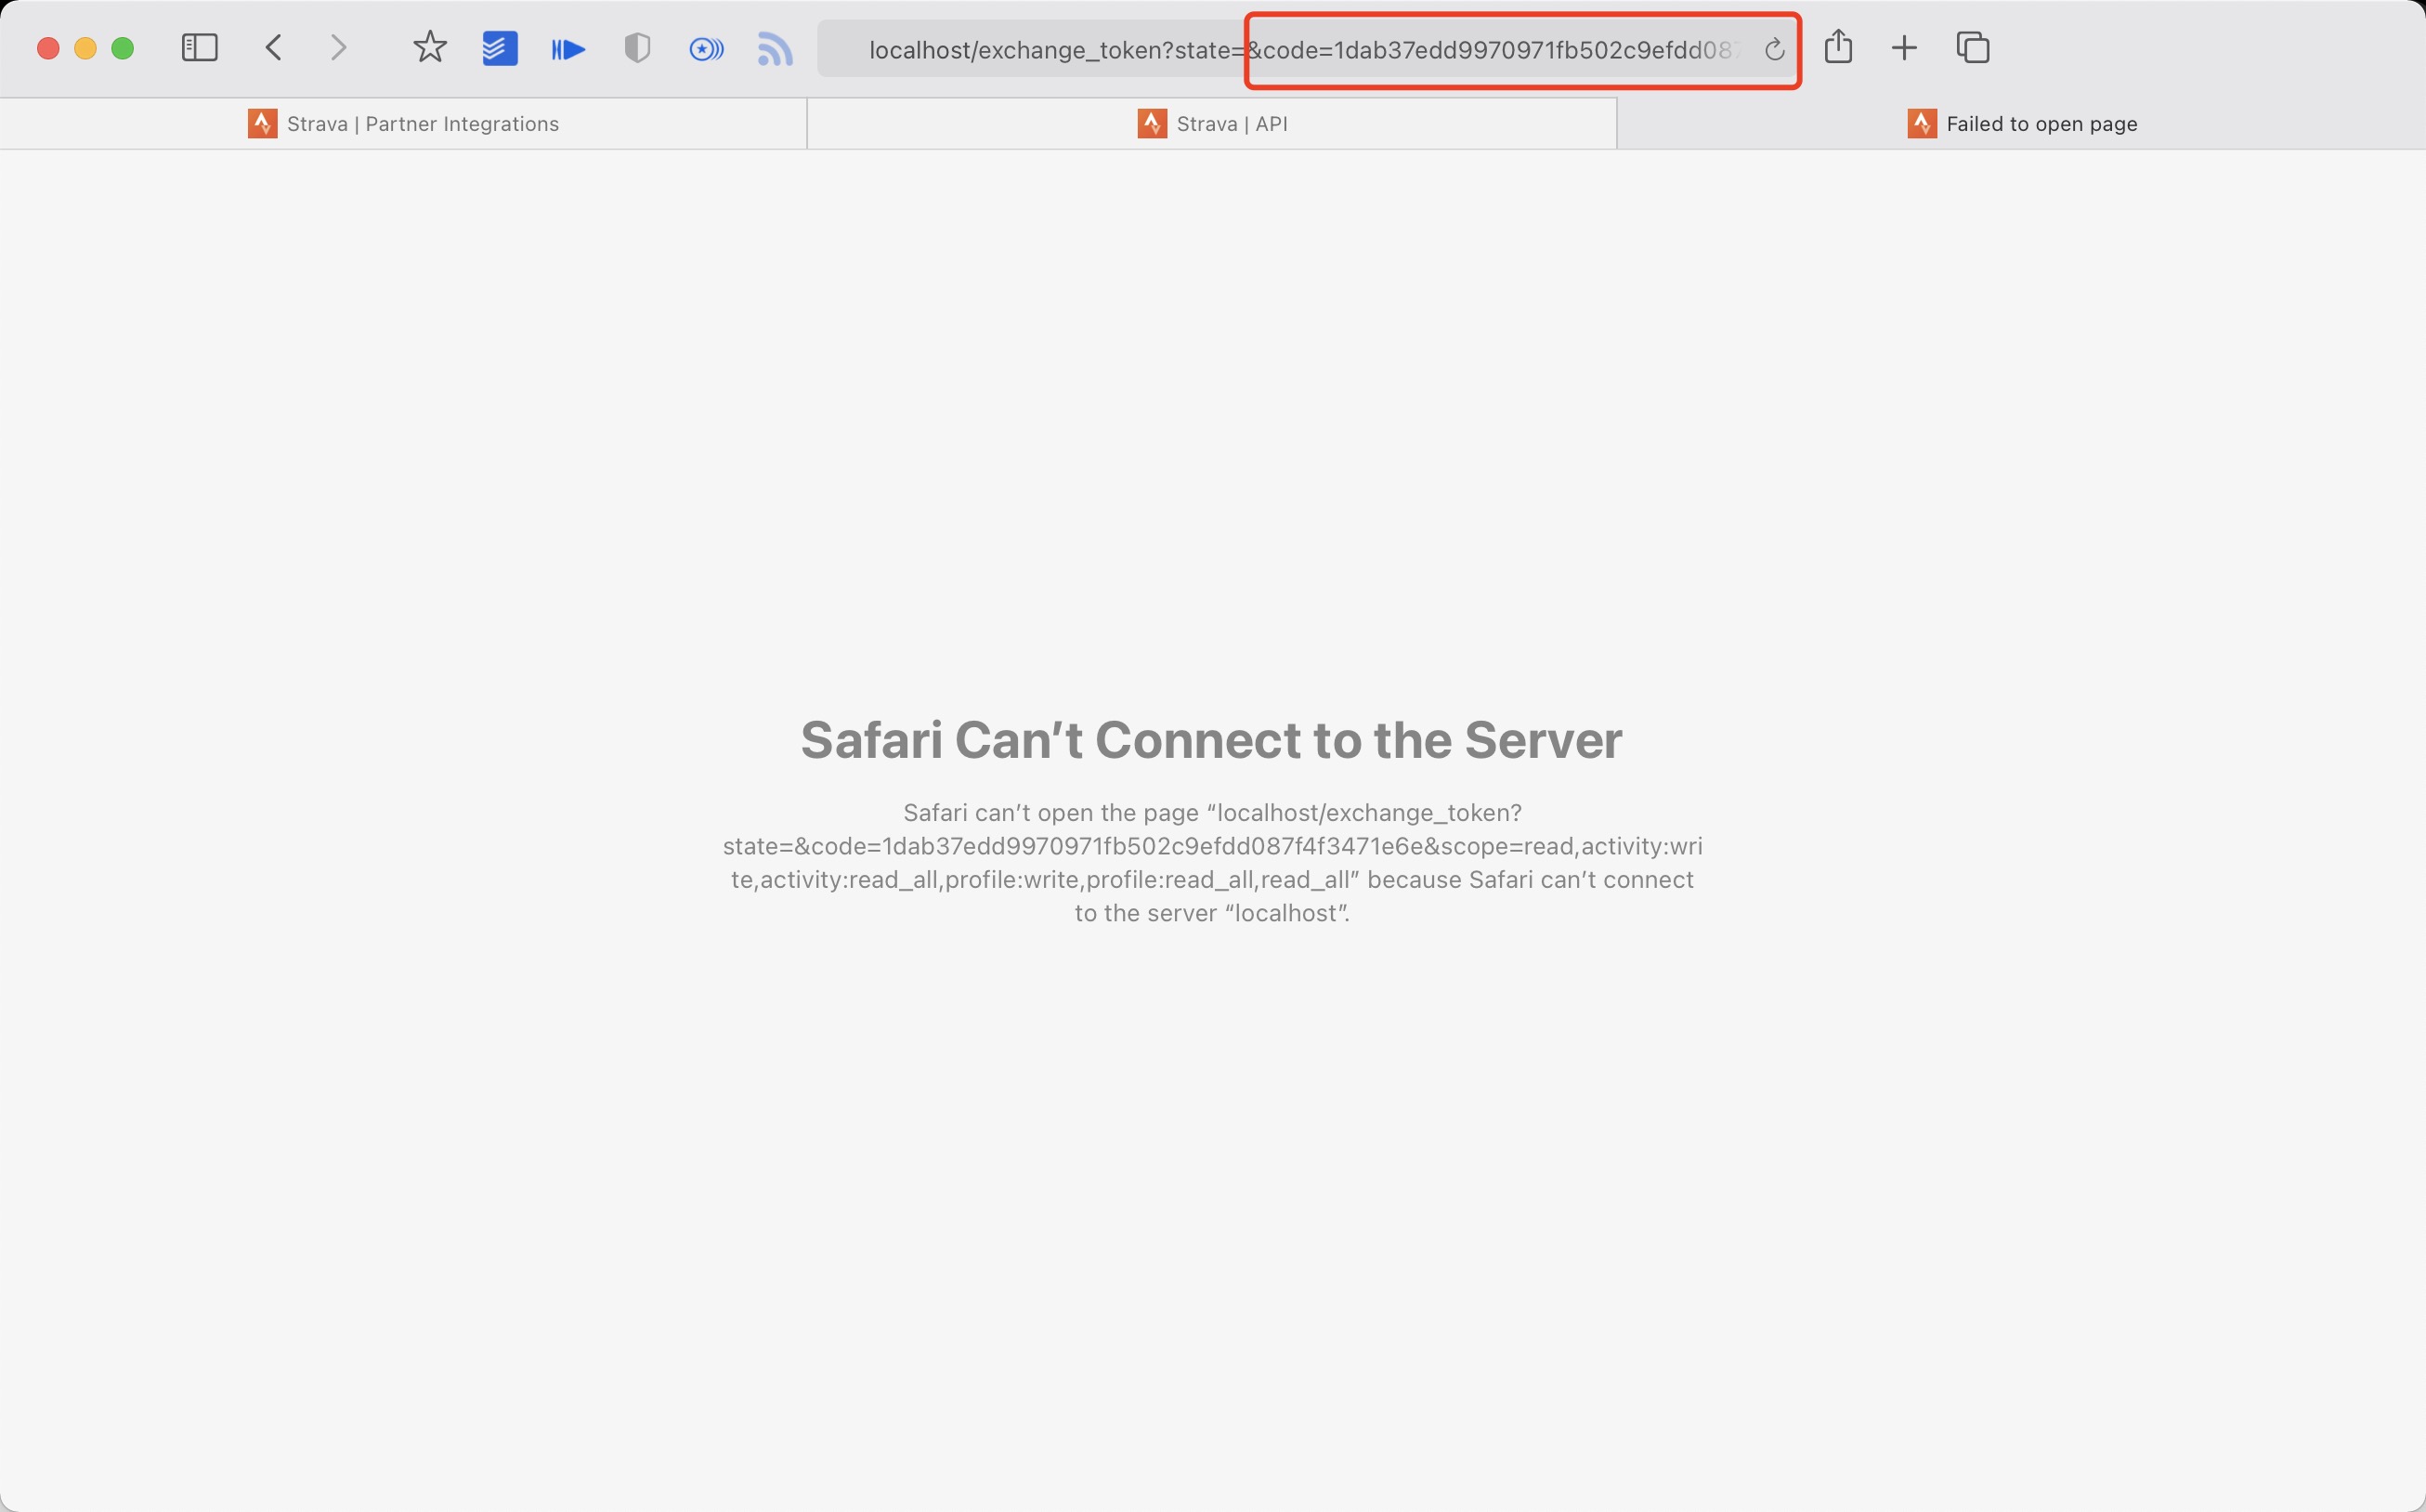
提取授权后返回链接中的 code 值
例如:http://localhost/exchange_token?state=&code=1dab37edd9970971fb502c9efdd087f4f3471e6e&scope=read,activity:write,activity:read_all,profile:write,profile:read_all,read_allcode数值为:1dab37edd9970971fb502c9efdd087f4f3471e6 -
使用 Client_id、Client_secret、Code 请求 refresch_token
在终端/iTerm中执行:curl -X POST https://www.strava.com/oauth/token \ -F client_id=${Your Client ID} \ -F client_secret=${Your Client Secret} \ -F code=${Your Code} \ -F grant_type=authorization_code示例:
curl -X POST https://www.strava.com/oauth/token \ -F client_id=12345 \ -F client_secret=b21******d0bfb377998ed1ac3b0 \ -F code=d09******b58abface48003 \ -F grant_type=authorization_code -
同步数据至 Strava
在项目根目录执行:python3(python) scripts/strava_sync.py ${client_id} ${client_secret} ${refresch_token}
其他资料参见 https://developers.strava.com/docs/getting-started
https://github.com/barrald/strava-uploader
https://github.com/strava/go.strava
Actions 源码 需要做如下步骤
- 更改成你的app type 及info

- 在repo Settings > Secrets 中增加你的secret(只添加你需要的即可)
 我的secret如下
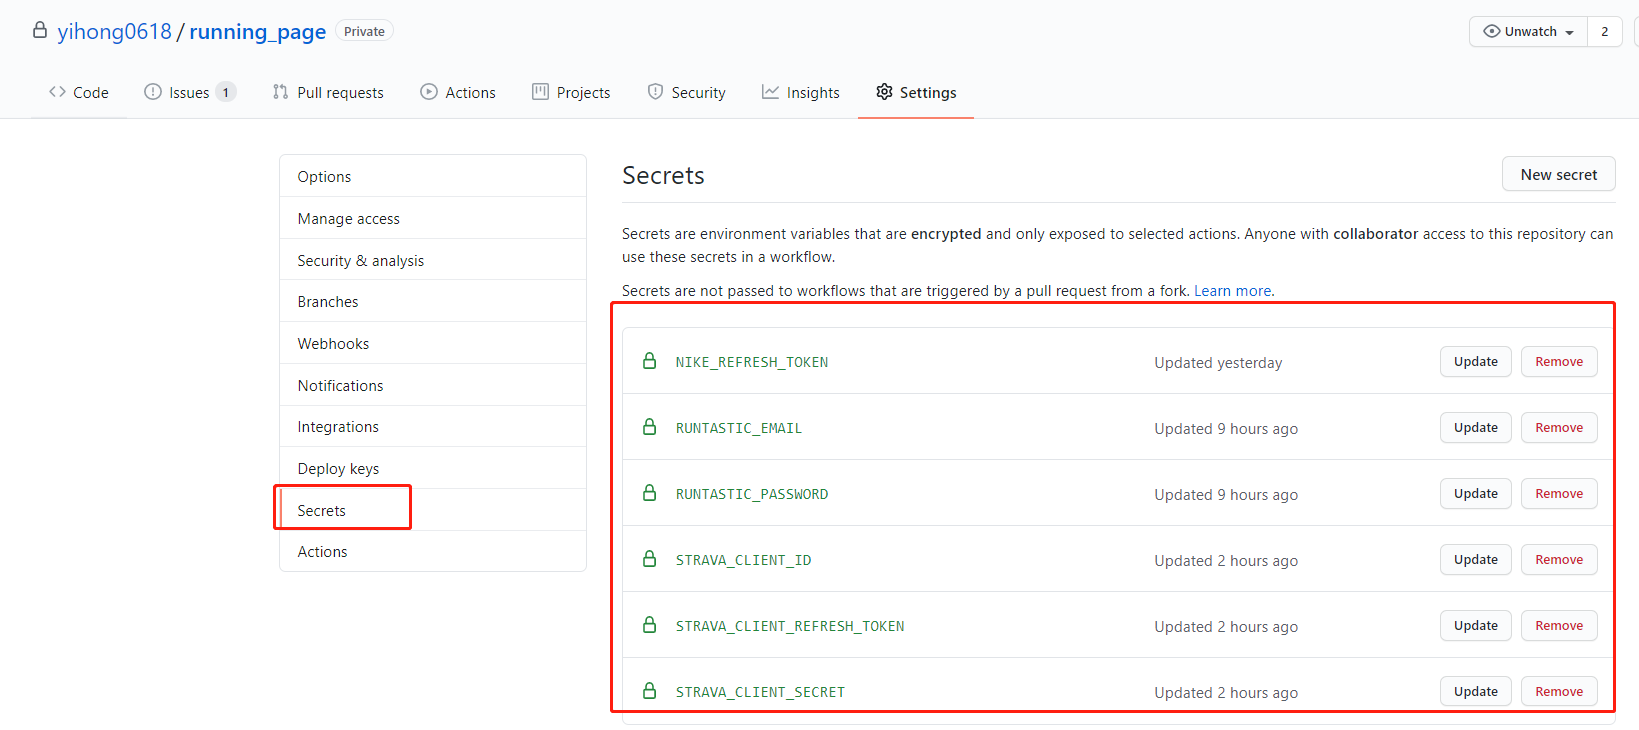
- 添加你的GitHub secret并和项目中的 GitHub secret同名

- 完善这个文档
- 支持佳明,佳明中国
- 支持悦跑圈
- 支持 nike+strava, runtastic+strava
- 尝试支持咕咚,小米运动
- 支持英语
- 完善代码
- 添加新功能
- i18n

